Tuesday, July 5, 2011

The Magic Smoking Grill

For "The Crowd You're In With" at 16th Street theatre, much of the action revolves around the grill. Over the course of the play raw meat gets loaded onto the grill, cooked meat comes off, and in between the grill is opened and shut multiple times and meat is futzed with and flipped. Because of the very intimate space at 16th Street, all of this happens just a few feet from the audience. Fortunately the grill is set facing mostly upstage (on a slight angle) so most of the audience can't see inside, but being that close the lack of smoke and sizzle from a cold prop grill was noticeable. 

To Fix the problem I made sponge burgers. I cut these rough burger shapes out of an ordinary hardware store sponge. A sharp pair of scissors worked best to shape it.

 I was able to get four burgers out of two large sponges.
 I dusted the tops of the sponges with spray paint to make them a bit more burger-y
 We hid a small hot plate inside the grill, running the cord out the bottom, under the fake grass on the floor and offstage. The stage manager plugs it in before the top of each show so it has time to get hot.
 Also before the show we fill the sponge burgers with water and set them high and out of the way on the grill.
 As the actor is working at the grill during the show, he will periodically take the sponge burgers down, set them over the hot plate and press on them with his spatula. The spatula squeezes water out of the sponge onto the hotplate, which produces the perfect sizzle sound and a convincing puff of smoke (water vapor).
And most importantly, it's all totally safe. We don't violate any open flame laws, or set off any smoke detectors, and the grill (being intended to hold real flames) can easily take the heat that builds up over the 90 minute show.

Saturday, June 25, 2011

Fake Pineapple Chunks

These fake pineapple chunks are to be a part of the same sangria mix that the fake berries in the last post are for.
My inspiration for this idea came from another props blogger, Anna Warren at Fake n' Bake, who used wax and concentrated wax pigments to make pieces to pickled herring.
Wax, she explained, is a great material for prop foods because of it's translucence and price. I figured this would be the perfect project to experiment with the material.
First I cut raw candle wax into roughly pineapple shaped chunks. It's a little tricky to cut, but I used my heat gun to heat up the metal blade of my knife to make the cuts easier.
and here is a closer picture
I melted down some more wax with a bit of concentrated yellow candle dye (sold in blocks at craft stores and you don't need much)
I used a cheap brush (because I assume it will be ruined by the wax) to paint a thin layer of the hot yellow wax over each chunk. the hot wax also helps to smooth and round the edges of the cut pieces.
and here is the final product.

Tuesday, June 21, 2011

Fake Raspberries and Blueberries

In  the show I am currently working on, one of the characters mixes up some sangria, with a variety of fruit, onstage as part of the action. I knew all of the fruit couldn't be real, it would cost us a fortune in consumables every night. 
To make blueberries I started with some marbles I bought in the home decoration section at Michael's. I chose the marbles partially because they would help the blueberries sink in the liquid like real berries, and partially because they are so ridiculously cheap.
I coated each marble with a thin layer of Sculpey oven-bake clay.
Once the marble was totally enclosed I took the tip of one of my keys and roughed up one spot on the ball. Next I baked them, with the clay so thin they only needed to be baked for about ten minutes.
I added random touches of thinned red and blue paint to the berries to give them more varied natural color and they were done.
And now the raspberries. 
Again I started with little marbles I bought at Michael's. 
I covered them bit by bit with dots of hot glue, giving each "row" time to dry before adding more so that the dots of hot glue kept their shape without melting together.
And then I painted them all red.
From a distance and packed into Tupperware they look pretty convincing. Hopefully they will be equally convincing when they are dropped into a pitcher of fake red wine.

fake roast and biscuits

For a one of my recent shows the actors are supposed to be eating a full dinner of roast, potatoes and carrots and biscuits. We decided that the biscuits and the roast would be fake, only the potatoes and carrots would be edible to give the actors something to do.
For the roast i started with some thick quilt batting.
I cut out some roast shapes
And then I coated them with liquid latex
It took about three coats until the latex was thick enough to cover both sides well.
I painted a salmony pink in the center of each slice.
And then sprayed the whole thing down with a coat of Design Master-Glossy Wood Tone spray paint
The biscuits were a simple salt dough (equal parts salt and flour, a little water, knead together and bake)
with a light dusting of Glossy Wood Tone for that golden baked color.

All in all a pretty tasty plate.

Thursday, June 9, 2011

Parrot Puppet

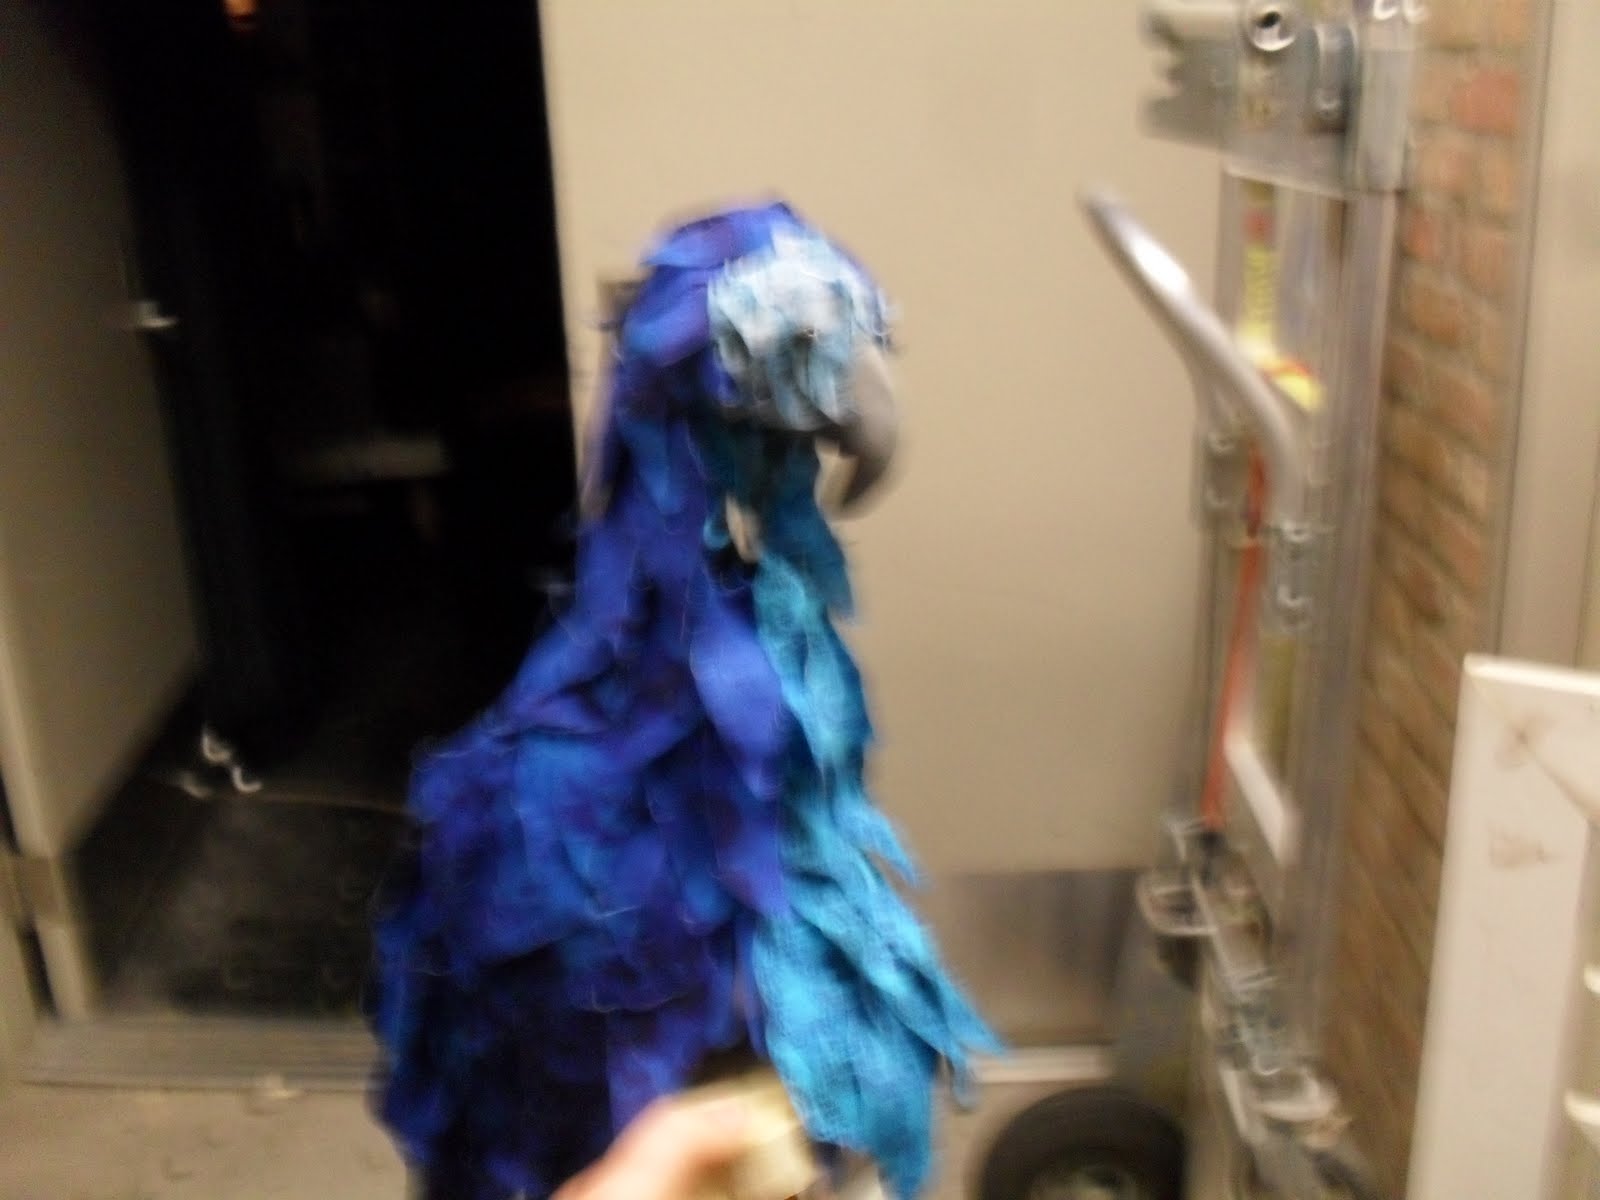
For this puppet, a macaw I was very concerned with giving the animal a lot of personality. The idea to create a puppet for this moment was added late in the rehearsal process. By the time I got into rehearsal to see a run, the actor was creating a wonderfully alive bird with just his hands. I didn't want to lose any of that when he got the actual bird. From what he was doing I decided that the most important things were a moving beak, a nodding head and quick moving feet.
For the base of the bird I used three whiffle balls. These two were bolted together to create the body. The holes made it easy to use machine screws to attach the balls together, and to run tubes for strings operating the head and neck.

For the head I used another whiffle ball. I cut the bottom out of it to give room for the bottom of the beak to move and I attached it with a spring. When the puppeteer pulled the string attached from the lower jaw to the body, the head tipped down. When the puppeteer released the string, the spring pulled the head back upright.

The jaw worked very much like the mouth of the curious child. It hinged on a pivot point. The puppeteer's string pulls on the bottom and opens the mouth, and the spring from the top of the jaw to the top of the head pulls the mouth back closed.
The whole thing is mounted to a small piece of 1x4 with a handle, and steadied at the bottom with some epoxy putty. The handle allows the puppeteer to hold the bird with one hand and free the other hand to operate the pull strings for the head and beak.
The pull stings are run through the body using flexible plastic tubing (you can find it cheap in the plumbing section at most hardware stores) which prevents friction and tangling.
To round out the body, give the bird shape and create wings and a tail I used sheets of craft foam.
After I had the basic shape I needed, I began adding feathers I had cut from blue patterned fabric.
Feathers work like roof shingles, you need to start at the bottom and work your way up, overlapping as you go to get a nice, even, natural look.
I used a lighter color fabric for the bird's belly and used the reverse side of the same fabric for his face. I added some extra wooden beads I had at home for eyes.
(I'm so sad this picture came out blurry)
I attached the legs of the bird to the glove that the puppeteer is wearing.
What made this glove especially useful, is that there is a moment in the show when one of the characters grabs the bird, holds it tightly and runs across the stage.
With the handle and glove, she was able to grab the puppet from the puppeteer without a messy tangled process of him "unhooking" from the puppet. On the other side of the stage he could quickly slip his gloved hand into the handle and bring the bird back to life.
As a final touch I added a little bit of yellow around the eyes and the beak to make them pop from further away. 

The playwright love him:)

And, again, I can't figure out how to rotate a video anywhere between having it on my camera and uploading it on the blog, so just turn your head if you want to check out the bird (his name is Starbuck) in action.

Tuesday, May 31, 2011

A Seahorse Fossil


This is the first of probably several posts about "Lighthousekeeping" with New Leaf theatre. It will be performing at the DCA storefront space in the loop starting on Thursday the 9th.
This prop is a fossil of a seahorse. In the script the actor finds a cave filled with fossils and pries one out of the wall to take with him.
I decided that carving the fossil out of wood would be the best option. The wood is light and will be easy to stick to the wall with a dot of hot glue or a bit of velcro. It also is not very likely to break when dropped, or over the course of action in the show when it is being carried in the actor's pocket.
 I started by drawing a basic seahorse shape on a chunk of basswood. Basswood is available in most craft stores and is great for carving and whittling because the grain is not terribly strong (so it doesn't resist cuts in any particular direction)
 I used this set of whittling chisels I inherited from my grandfather. One thing to keep in mind when using any chisels is that they are incredibly sharp and can slip easily. If the chisel slips, it will slip in a straight line, if your hand is in that line, you can get injured pretty seriously. It is important to be constantly aware of how you are gripping the chisel and the project and to adjust your grip as you cut in a new direction. It is also important to keep your chisels sharp. A sharp chisel cuts more smoothly and is easier to control.
 After carving a basic outline, I cut out the majority of the shape with a series of deep cuts with a V-shaped knife to create the ribbed look of a seahorse.
 And I used a shallow curved knife to create the head.
 After I got the seahorse to where I wanted it, I used my chisels and the sanding attachment on my Dremel to rough up and round out the rest of the piece of wood.
 I especially concentrated on edges and ends, where square edges and sharp corners are most obvious.
To finish it off I used my wood burning tool to darken the deep parts of the shape, smooth some rough edges and add definition.

Tuesday, May 10, 2011

Connecting the Community

I've been trying for a while to find ways to connect the Chicago props community. I think we're probably a fairly small group (though it's hard to know) and that we could all be a lot more efficient and a lot saner if we had ways of helping each other out. It's tricky to get to know each other though, most shows I work on have only one props master...me, so chances to interact with other artists who do the same thing are incredibly limited.
Recently I went out to have drinks with another Chicago props master, Doug Kupferman, who shares the same goals. We talked through some of our wishes and some of the ways we were going to try to get things off the ground.

First, a random list of things that we hope our group could accomplish and questions it could address-

-We could share sources. It's a big city and there are lots of hidden gems. When I do get to talk to other prop masters I find they often have never heard of some of my favorite stores, and I haven't heard of theirs.

-I would like to have an efficient way of messaging other props masters when I am looking for a piece. We are all familiar with different stocks from different theatres around the city. It would be nice to find out if someone has that perfect Victorian couch before I resign to spending half my budget on one.

-I would also like to be able to share online resources, tips and tricks. While we were at the bar the other night, Doug showed me an app he uses on his smartphone that takes pictures of and then catalogues receipts for you, I was amazed! (as soon as I break down and buy a smart phone it is going to change my life!)

-I would like to have a forum for seeking advice (and warnings) about different theatre companies, ideally with a more positive tone ("These are some things that I learned along the way that will help you to know from the start with this company/director/designer" as opposed to "These are the horrible things that person X did and you should never work with them ever and no one else should either"). I would also like to be able to offer recommendations ("This company didn't pay much, but here are the awesome things they were able to offer me/things I learned from the experience")

-I often get emails about open positions that I can't take. It would be nice to be able to email a list of designers to a company looking for one, or to be able to email a job opening to a list of designers and see if anyone is free or interested.

Our initial solutions-

-First we started a google.doc spreadsheet of local Chicago suppliers. It's still pretty rough, right now it is divided into three lists: Antique and Thrift Stores; Fabric, Lumber and Craft Supplies; and Rentals. If you would like, you can check it out here, Chicago Props Resources. If you would like to help us expand the list and edit it, please send me an email and I will add your name to the list of approved editors. I would especially love to add more theatres interested in renting out stock to our Rentals list.

-Second we are starting a google group. chicago-props-forum@googlegroups.com. Essentially it's a list-serve. Once you are added to the group, I can send an email just to the one address, and it gets forwarded out to everyone who has signed up. This should be a great place to start in terms of finding items, and sending out job referrals. Once it gets up and running hopefully we can find a way to expand it into forums, lists or catalogues where we could keep a list of helpful hints on working with the designers, directors and theatre companies in the city. If you're interested in being a part of the list, you can email Doug at douglas.kupferman@gmail.com.