Showing posts with label Lighthousekeeping. Show all posts

Thursday, June 9, 2011

Parrot Puppet

For this puppet, a macaw I was very concerned with giving the animal a lot of personality. The idea to create a puppet for this moment was added late in the rehearsal process. By the time I got into rehearsal to see a run, the actor was creating a wonderfully alive bird with just his hands. I didn't want to lose any of that when he got the actual bird. From what he was doing I decided that the most important things were a moving beak, a nodding head and quick moving feet.
For the base of the bird I used three whiffle balls. These two were bolted together to create the body. The holes made it easy to use machine screws to attach the balls together, and to run tubes for strings operating the head and neck.

For the head I used another whiffle ball. I cut the bottom out of it to give room for the bottom of the beak to move and I attached it with a spring. When the puppeteer pulled the string attached from the lower jaw to the body, the head tipped down. When the puppeteer released the string, the spring pulled the head back upright.

The jaw worked very much like the mouth of the curious child. It hinged on a pivot point. The puppeteer's string pulls on the bottom and opens the mouth, and the spring from the top of the jaw to the top of the head pulls the mouth back closed.
The whole thing is mounted to a small piece of 1x4 with a handle, and steadied at the bottom with some epoxy putty. The handle allows the puppeteer to hold the bird with one hand and free the other hand to operate the pull strings for the head and beak.
The pull stings are run through the body using flexible plastic tubing (you can find it cheap in the plumbing section at most hardware stores) which prevents friction and tangling.
To round out the body, give the bird shape and create wings and a tail I used sheets of craft foam.
After I had the basic shape I needed, I began adding feathers I had cut from blue patterned fabric.
Feathers work like roof shingles, you need to start at the bottom and work your way up, overlapping as you go to get a nice, even, natural look.
I used a lighter color fabric for the bird's belly and used the reverse side of the same fabric for his face. I added some extra wooden beads I had at home for eyes.
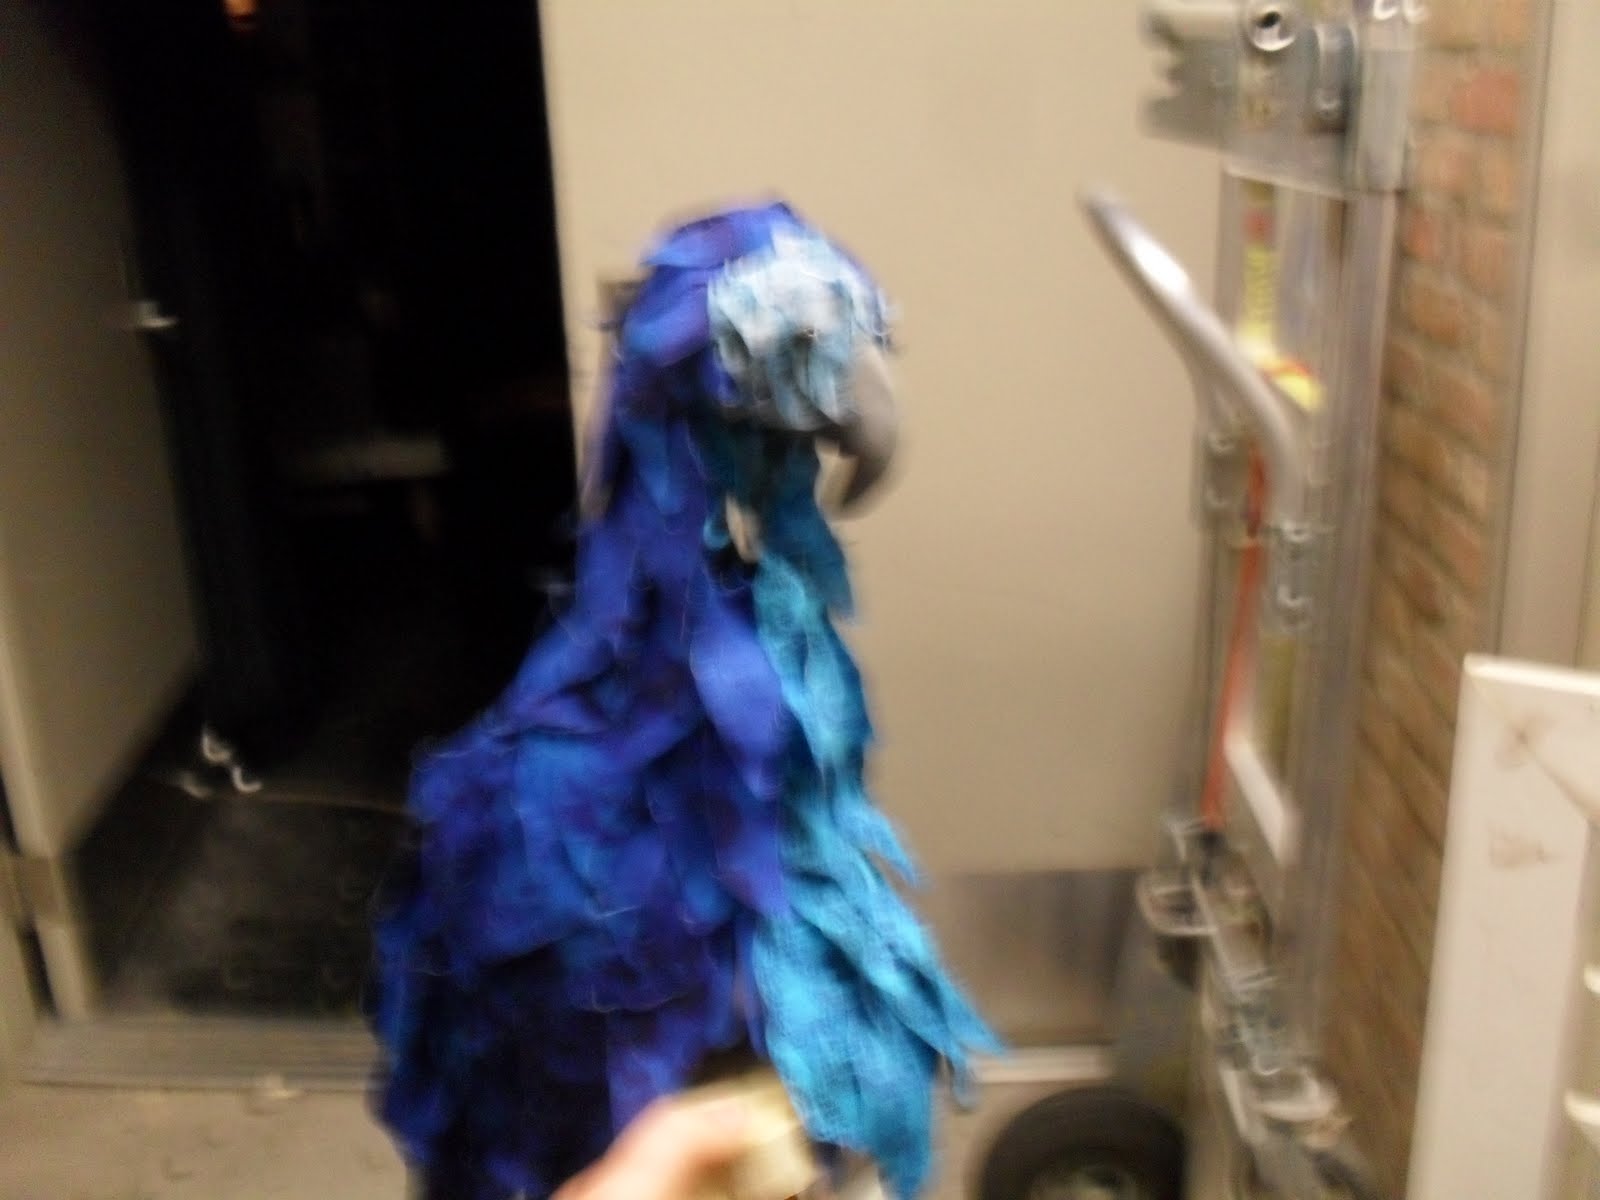
(I'm so sad this picture came out blurry)
I attached the legs of the bird to the glove that the puppeteer is wearing.
What made this glove especially useful, is that there is a moment in the show when one of the characters grabs the bird, holds it tightly and runs across the stage.
With the handle and glove, she was able to grab the puppet from the puppeteer without a messy tangled process of him "unhooking" from the puppet. On the other side of the stage he could quickly slip his gloved hand into the handle and bring the bird back to life.
As a final touch I added a little bit of yellow around the eyes and the beak to make them pop from further away. 

The playwright love him:)

And, again, I can't figure out how to rotate a video anywhere between having it on my camera and uploading it on the blog, so just turn your head if you want to check out the bird (his name is Starbuck) in action.

Tuesday, May 31, 2011

A Seahorse Fossil


This is the first of probably several posts about "Lighthousekeeping" with New Leaf theatre. It will be performing at the DCA storefront space in the loop starting on Thursday the 9th.
This prop is a fossil of a seahorse. In the script the actor finds a cave filled with fossils and pries one out of the wall to take with him.
I decided that carving the fossil out of wood would be the best option. The wood is light and will be easy to stick to the wall with a dot of hot glue or a bit of velcro. It also is not very likely to break when dropped, or over the course of action in the show when it is being carried in the actor's pocket.
 I started by drawing a basic seahorse shape on a chunk of basswood. Basswood is available in most craft stores and is great for carving and whittling because the grain is not terribly strong (so it doesn't resist cuts in any particular direction)
 I used this set of whittling chisels I inherited from my grandfather. One thing to keep in mind when using any chisels is that they are incredibly sharp and can slip easily. If the chisel slips, it will slip in a straight line, if your hand is in that line, you can get injured pretty seriously. It is important to be constantly aware of how you are gripping the chisel and the project and to adjust your grip as you cut in a new direction. It is also important to keep your chisels sharp. A sharp chisel cuts more smoothly and is easier to control.
 After carving a basic outline, I cut out the majority of the shape with a series of deep cuts with a V-shaped knife to create the ribbed look of a seahorse.
 And I used a shallow curved knife to create the head.
 After I got the seahorse to where I wanted it, I used my chisels and the sanding attachment on my Dremel to rough up and round out the rest of the piece of wood.
 I especially concentrated on edges and ends, where square edges and sharp corners are most obvious.
To finish it off I used my wood burning tool to darken the deep parts of the shape, smooth some rough edges and add definition.