I've been recently working on a very big, very high budget show. The set designer on this project is kind of a big deal, he has Broadway credits and TV credits and movie credits and has been working at the top end of the industry for over 30 years.
I recently had a very interesting discussion with him about the titles of props master vs props designer. Over the last few years working in Chicago I have started more and more to call myself a props designer, so I was a little taken aback when John (the set designer) told me that he found the term incredibly annoying and insulting. He feels that calling the props person a designer as well takes away from the credit he should be receiving, or in some way demeans his position as set designer. I understand his point, and while I don't completely disagree with him, I think that the situation always needs to be taken into account.
So to clarify, in my opinion there is a difference between being a props master and a props designer. When I am a props master, I expect to be working very closely with the set designer. I expect to be given research and input on what the furniture, set dressing and key props should look like. The set designer is someone who will look at photos of the 6 desks I have located, and make the final choice of which one to buy. If I am the props master, then I have a collaborative partner who will be taking more responsibility for the final look of the show (whether that credit is receiving positive praise or accepting negative criticism). I will, of course, be making many decisions about details, budget, and small hand props on my own (or else why bother hiring me), but the overall look of the production is mine to support, not to decide.
I call myself a props designer so often in Chicago, because in so many of the small storefront theatres where I work, I am not the same level of support from set designers. In so many cases, furniture, set decoration and the overall look and feel of the props are left completely to me to discuss and work through with the director. I usually make an attempt first to achieve collaboration with the set designer, sending photos and emails, and asking for research; it is only when I do not get the information I need that I start to make decisions without input from the set designer. I am perfectly happy to assume full responsibility for the final look of the show in those cases (at many theatres this has nothing to do with the quality of the designer, it is just the way labor has traditionally been divided), but with that responsibility should come the credit and title of designer.
My conversation with John helped me to clarify and articulate to myself these differences. When the conversation initially started (and for a few days after), I worried that I was being self-important and pretentious by calling myself a props designer. I worried that I should stop using the term for fear of annoying potentially important people. With a lot of thought I have come to the conclusion that the term has it's place. I need to be more careful about how I use it, and after articulating for myself where the line is between master and designer, need to apply the terms appropriately, but abandoning the term completely would be just as wrong as using it in all cases.
Showing posts with label Pinocchio. Show all posts
Showing posts with label Pinocchio. Show all posts
Monday, June 4, 2012


Tuesday, August 10, 2010
Pinocchio's Nose Part 2
Pinocchio opened weeks ago, so this post is very long coming. Right after opening the show I was incredibly stressed and I needed some space and time away from the experience before coming back to reflect on it.
Let me say first that the multiple noses I made didn't work. I spent many hours and lots of money and ended up not using any of it, and it was incredibly frustrating.
I am still convinced though that I was on the right track, so I will start by telling you what I did and the lessons I learned along the way, in case you ever are in a position to make your own nose.
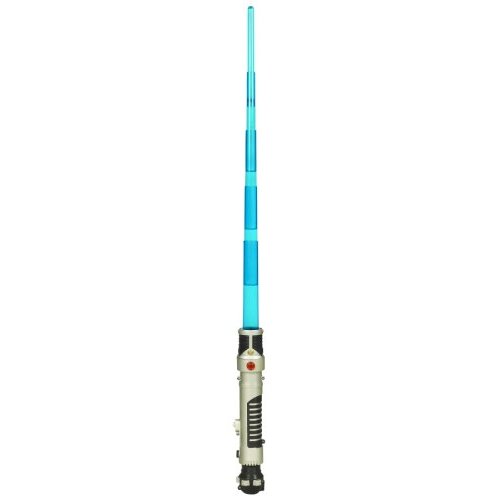
After creating my posterboard prototype I set about looking for something stronger to make the final product out of. The best option I found was a telescoping light saber toy. As I sliced the toys, I learned several important lessons.
 -A ton of the original light saber had to be forfeited to waste. You'll notice in the picture of the toy, there is a lot of overlap between pieces. Since my pieces were only an inch long, I couldn't afford to have that space.
-Because I had to work with the cuts that already existed between pieces it was pretty much impossible for the nose segments to be uniform.
-Every step had to be done in order, no short cuts. First, sand all the pieces so that the plastic takes paint, then paint the pieces, then sand them again so that the finish is smooth. Then cut each piece to length starting at the tip. I also melted the wider end of each piece and curved it inward so that each piece would catch the one before it as the nose collapsed.
The difference between fitting smoothly and not fitting was so tiny that even a thin layer of paint could throw things off and force you to redo everything.
 This is how the plastic noses turned out when they were installed on the mask.
 As with all of the noses I made, it looked pretty impressive when it was extended. The problem was that, with this script, the nose was only extended for two very brief moments during the show. Collapsed, the nose was far too big for the artistic director. He wanted it smaller, thinner and less distracting from the actor's face.
  After working though all the steps on several different plastic light saber noses I decided to go with another material. I went back to the original posterboard idea. This time I fully covered each piece of posterboard with masking tape, making it more durable and conveniently taking the whole thing closer to the right color.
  I wasn't able to make the closed nose much lower profile, but the thin material allowed me to make the extended nose much longer, and making it myself allowed me to make it much more uniform. The biggest problem with the posterboard was that, if it got a fold or wrinkle, the pieces would stop catching and you could pull the nose apart. If I were to do it again I might try something a little less inclined to bend, maybe paper mache.
Let me say first that the multiple noses I made didn't work. I spent many hours and lots of money and ended up not using any of it, and it was incredibly frustrating.
I am still convinced though that I was on the right track, so I will start by telling you what I did and the lessons I learned along the way, in case you ever are in a position to make your own nose.
After creating my posterboard prototype I set about looking for something stronger to make the final product out of. The best option I found was a telescoping light saber toy. As I sliced the toys, I learned several important lessons.

-Because I had to work with the cuts that already existed between pieces it was pretty much impossible for the nose segments to be uniform.
-Every step had to be done in order, no short cuts. First, sand all the pieces so that the plastic takes paint, then paint the pieces, then sand them again so that the finish is smooth. Then cut each piece to length starting at the tip. I also melted the wider end of each piece and curved it inward so that each piece would catch the one before it as the nose collapsed.
The difference between fitting smoothly and not fitting was so tiny that even a thin layer of paint could throw things off and force you to redo everything.
 This is how the plastic noses turned out when they were installed on the mask.
 As with all of the noses I made, it looked pretty impressive when it was extended. The problem was that, with this script, the nose was only extended for two very brief moments during the show. Collapsed, the nose was far too big for the artistic director. He wanted it smaller, thinner and less distracting from the actor's face.
  After working though all the steps on several different plastic light saber noses I decided to go with another material. I went back to the original posterboard idea. This time I fully covered each piece of posterboard with masking tape, making it more durable and conveniently taking the whole thing closer to the right color.
  I wasn't able to make the closed nose much lower profile, but the thin material allowed me to make the extended nose much longer, and making it myself allowed me to make it much more uniform. The biggest problem with the posterboard was that, if it got a fold or wrinkle, the pieces would stop catching and you could pull the nose apart. If I were to do it again I might try something a little less inclined to bend, maybe paper mache.
 After making all of these noses the director and AD were still not happy. The large mask that concealed the tube across the cheek still took up too much of the actor's face. I mocked up some prototypes of smaller masks that would be hand operated instead of using the cable system, and even a totally different concept based on extension pieces that the actor would attach to the tip of his nose using magnets. None of these ideas worked.
If I were to do it again I would probably try the cable system again, but instead of through the cheek I would design the mask to run the cable along the bridge of the actor's nose, across his forehead, over his head and down to the small of his back where it would be operated. The mask would likely have to have some sort of piece that extended across his cheeks, but it could be much smaller and low profile.
I think my biggest mistake though this project was taking my policy of "saying Okay" too far. I don't want to be the props master who always says "no we can't," but in this situation there should have come a point where I insisted that we work with the current nose to trouble shoot. Instead I kept reinventing the mechanism in an attempt to fulfill every request I was given, and as a result, none of the dozen noses I made ever got to the trouble shooting phase.
By the time we got to opening there was really no choice but to go with the nose from the last production. It had it's flaws, and it too distracted from the actor's face more than we would have liked, but it had been used extensively and the troubleshooting phase had been completed.
Friday, July 30, 2010
Magic Wand
For Pinocchio I was given the task of creating a slimmer, more dainty, magic wand. In past production the blue fairy had used this wand. It was well made, had a series of lights wired in between the layers of the star and had space to fit a 9V battery in the handle. It was just too big.
My initial idea was to shrink everything by using an LED light and a flat watch battery.

The first idea was to wire the switch and the battery into a bracelet where it would be disguised.


I ended up cutting some of the wire out of the circuit and re-soddering it. I then balled up the circuit and embedded it in a ball of epoxy putty at the end of the wand with the switch sticking out on one side and the battery accessible from the other. The ball was almost entirely hidden in the actor's hand and she was given much more freedom of movement.

And then I added sequins because...they're pretty and when the lights hit the blue sequins it made the wand even more magical.
Tuesday, July 20, 2010
Instant Marrionette
Okay, maybe not instant, but way faster than it could have been.
I'm working on a production of Pinocchio and in this script there is supposed to be a real marrionette on the table through the first few scenes. It is only when the blue fairy appears and that the doll is replaces by an actor. The doll didn't need to be life sized, but the other marrionettes I had purchased on ebay weren't big enough. Apparently the theatre used to have one (they have done this show before) but it seems to have been lost when they moved to a new space last year. I looked online and in toy stores for things that I might be able to alter, but eventually it became clear that I was going to have to make this thing. Turns out that it probably should have been the first thing I tried.
Here he is, pre-paint and clothing.


 To attach the ball to the neck I used a T-nut in the neck and a long bolt through the foam head.
  The face was made by molding Model Magic over the Styrofoam ball. (As a side note, his face is weird because A: The script says that he isn't supposed to have a nose and B: the actor will be wearing a mask that creates big cheeks to disguise the mechanism for a growing nose so I wanted this to resemble that). For some reason as the model magic cured it developed large cracks all over the face. I filled the gaps by giving the whole mask a coat of elmers glue and then filled them the rest of the way when I painted the mask.
 In a move that would make any costumer cringe, I didn't sew any of the clothing. I hot glued all of it together, but since it won't be worn by any actors that will be exposed by wardobe malfunctions, and since hot glue really does stick fabric together really well...it was easier and faster than trying to pattern something for a wooden block doll.
For his hair, I used some foam sheets that I cut into strips (note, start at the bottom).


I'm really happy with the way he turned out, and even better was how easily he came together.


Friday, July 9, 2010
Popcorn!
Shortest post ever.
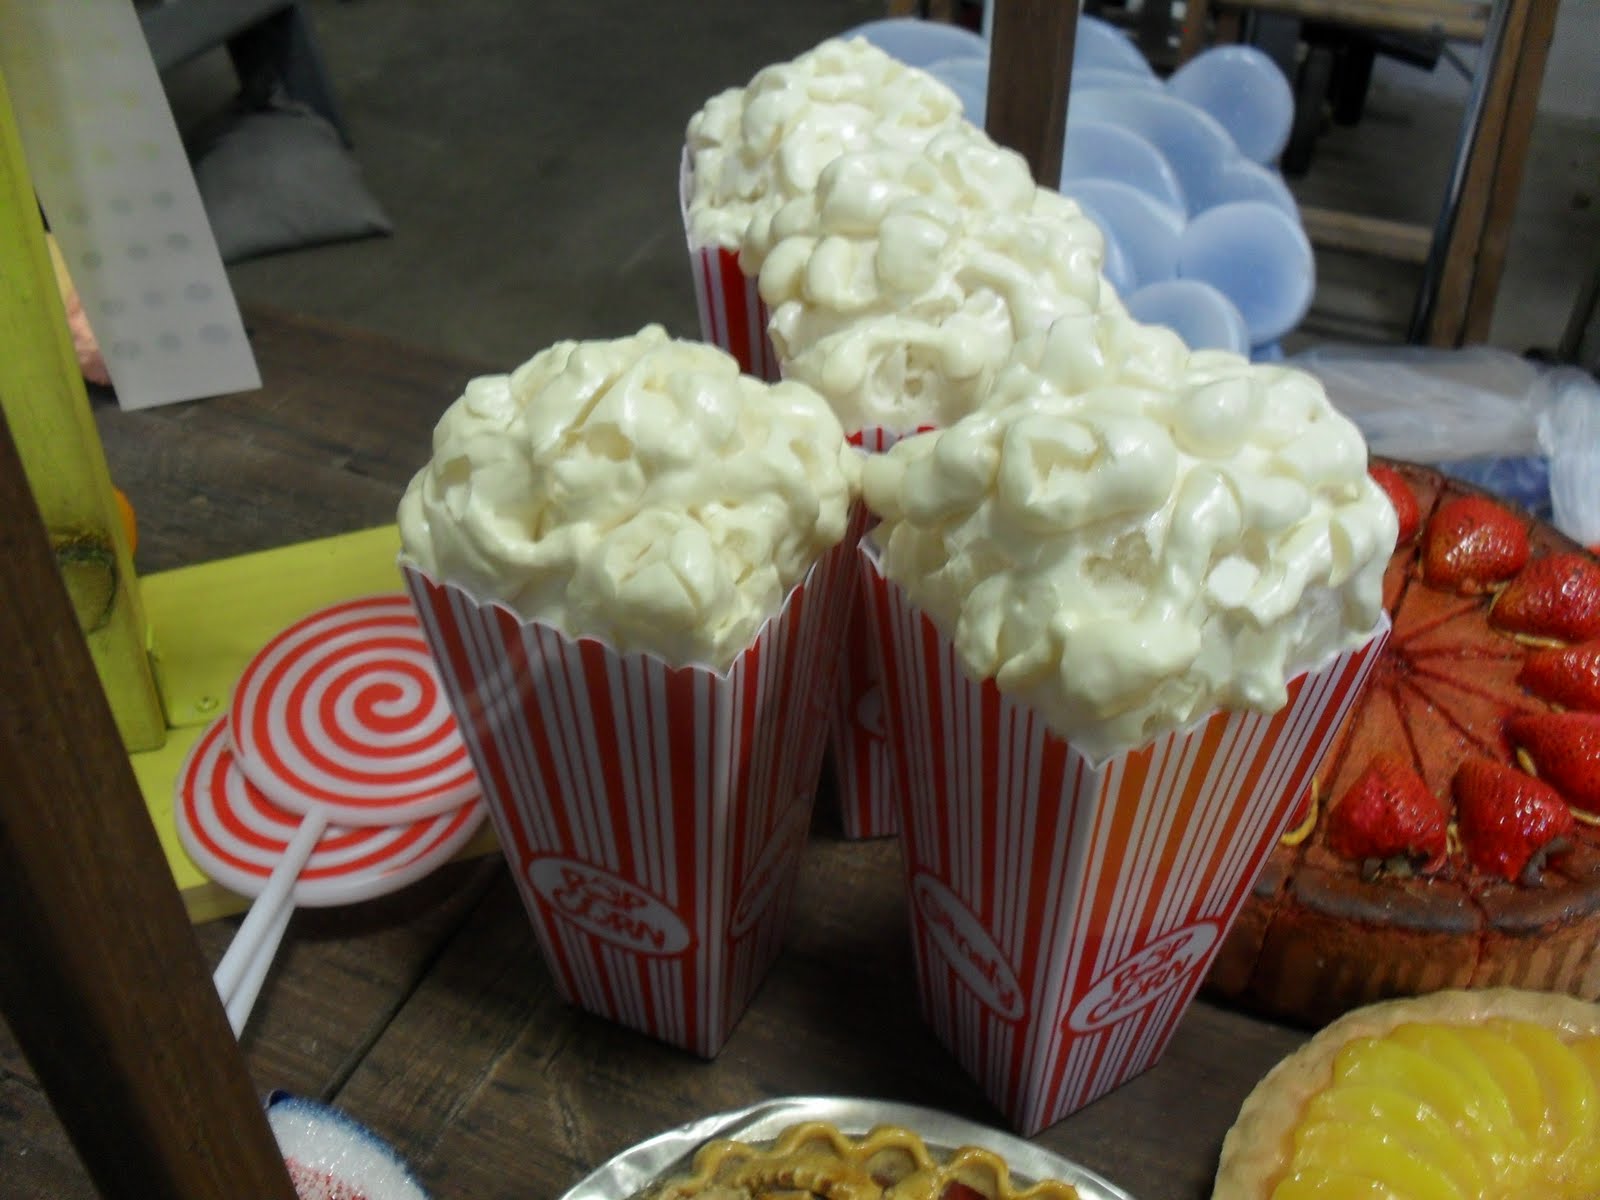
You know what is a super easy way to fill out a cart full of carnival treats, popcorn.

I bought these plastic boxes foe $1 each at JoAnns, but you can also find the cardboard ones at party city.
I filled them with a couple squirts of Great-Stuff and let them expand and dry.
After they were dry I cut them up a bit with my matte knife so it didn't look like one giant piece of popcorn in each box.
 And the best part, no paint needed, the foam is already a perfect color.
You know what is a super easy way to fill out a cart full of carnival treats, popcorn.

I bought these plastic boxes foe $1 each at JoAnns, but you can also find the cardboard ones at party city.
I filled them with a couple squirts of Great-Stuff and let them expand and dry.
After they were dry I cut them up a bit with my matte knife so it didn't look like one giant piece of popcorn in each box.
Wednesday, July 7, 2010
Lollipop, Lollipop (oh lolli lolli lolli)

I ended up turning back to one of my favorite materials, Crayola Model Magic.
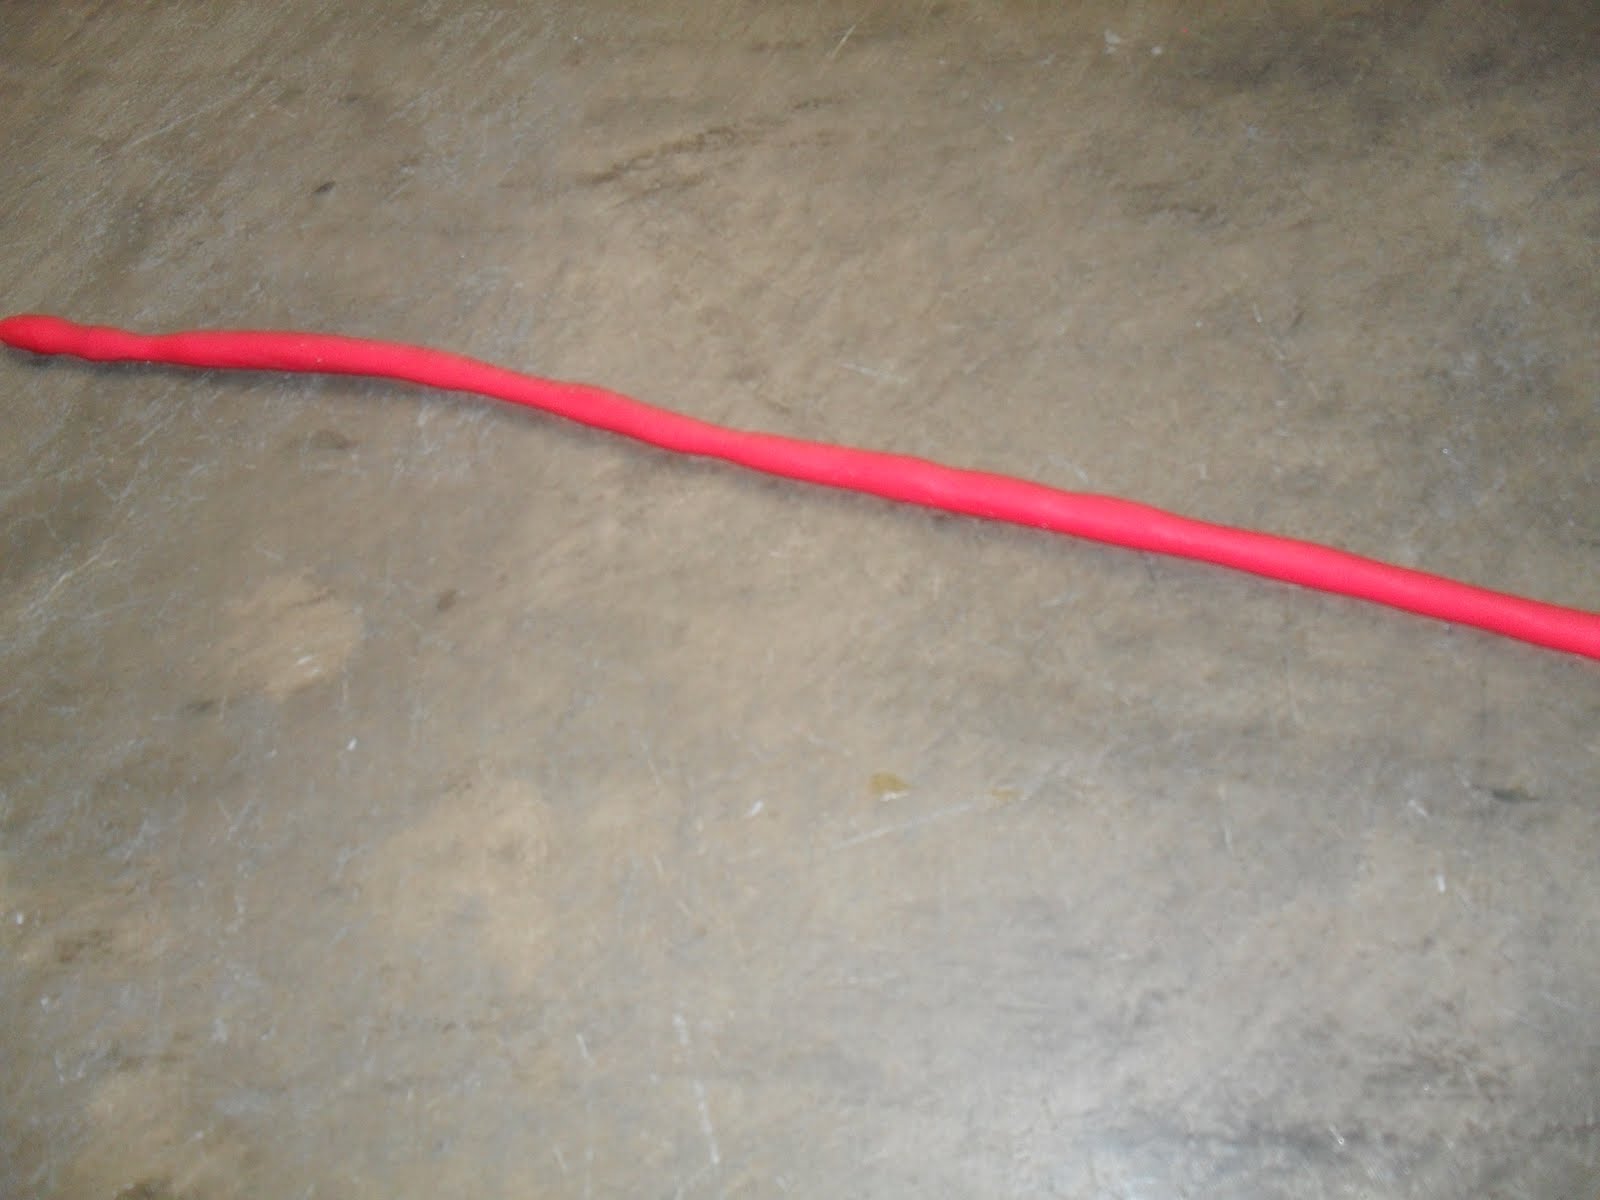
I rolled out two long snakes. I used half a pack of Model Magic for each snake. They were about three feet long and between 1/4" and 3/8" diameter.

Then I twisted the two snakes together carefully, making sure not to break them or stretch them much.
Finally I rolled the twisted snake into a spiral, gently pressed it flat and smoothed the edges. I carefully twisted 1/4"dowels into the clay for the sticks.
The final lollipops were roughly 6" across.

If I were to do it again I would have done it sooner. Because of the thickness it took the Model Magic three full days until they were dry all the way though and usable in rehearsal
Thursday, June 24, 2010
Pinocchio's nose- Part 1

 I'm working on a production of Pinocchio and have been challenged with making a magical nose that can grow and shrink on demand. It had to be operated by the actor, and there's nowhere to hide any tricks because the theatre is in the round. The director also mentioned several times that she didn't want too big a mechanism on the actor's face (apparently the last time they did the show the rig that they had on the nose was so large that it distracted from the actor's face)
 I decided pretty early that I wanted the nose to telescope like a miniature version of those old cheap plastic collapsible sword/light saber toys. The trick was to find a way to control the telescoping action. I did a lot of research into pneumatic and motor options until my roommate Adam gave me the perfect answer, cable. The system works very similar to bike hand breaks. The wire can push and pull around corners and being a mechanical solution isn't subject to the same types of problems as motors or pneumatics.
 This prototype is made of posterboard with masking tape to hold it to the face. I used picture wire attached to the tip piece of the nose, run through the nose, across the face (which will be partially covered by a mask), over the ear and down through the actor's costume to his pocket where he will be able to push and pull the wire to extend and retract the nose.
  The challenge right now is to find the correct material to build the nose from. I need something light, thin, as seamless as possible, and fairly smooth so that the pieces will slide easily. Right now I think I'm going to try sculpting a nose out of clay and then using that as a base to create my hollow cone out of paper mache. I'd love your advice though. Do you know of any products that might achieve a better result? I'm particularly concerned about something that will hold up over a long run.
Subscribe to:
Posts (Atom)


 Posts
Posts