Tuesday, November 30, 2010

Christmas Magnets

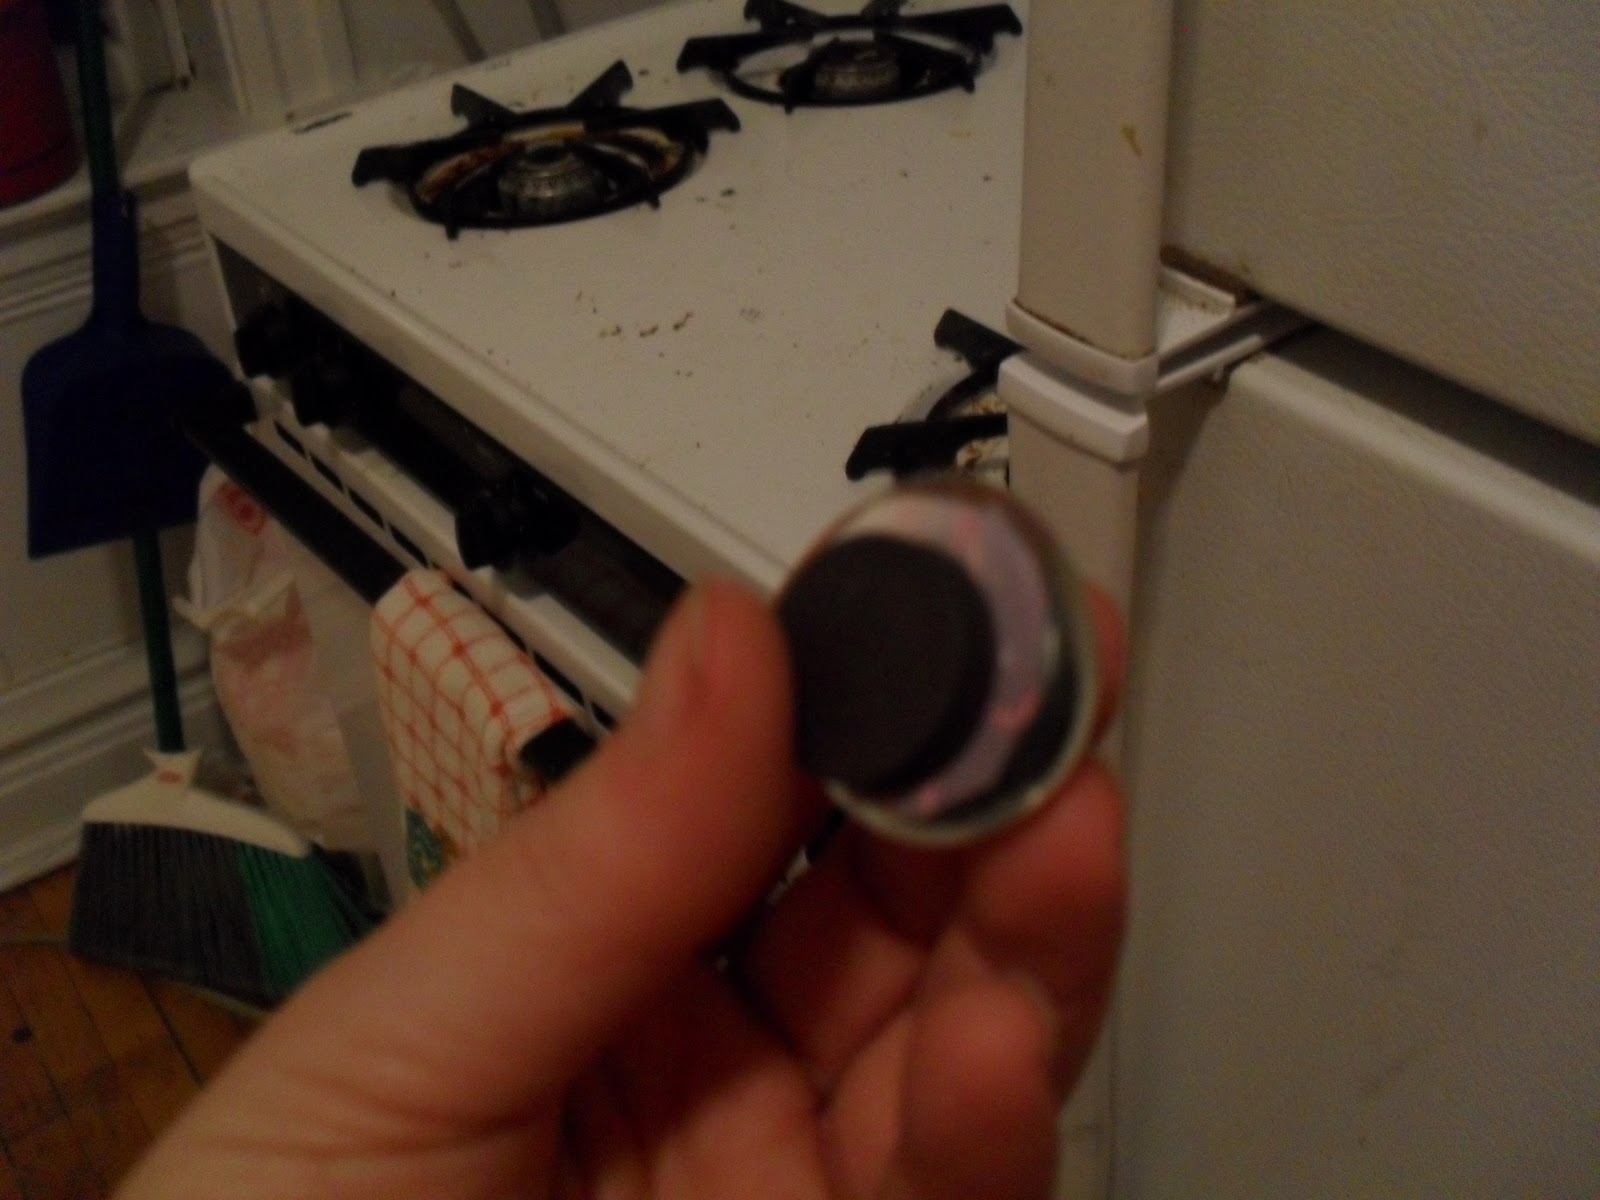
This in another one of my holiday projects. I started out making a set of these glass marble magnets for my boyfriend for a housewarming gift.
They were so easy and so popular with the friends who came to the house and saw them that I am now selling them through one of the local comic book stores.
They're really easy too, can be done with any images and use supplies that can be purchased at any craft store.
I start with clear flat marbles like these (lots of people put them in the bottom of fish tanks)
I then use the marbles to scan for the right image and trace them.
It is important to individually trace each image because the marbles vary in shape and size. After tracing I cut them out on my cutting matte with my exacto-knife. Because the marble curves in from where I trace I usually make my cut about 1/8" in from the line I drew.
I laminate the image onto the marble with elmers glue.
Attach the magnet to the back with a heavy duty adhesive.
I'm pretty happy with how they turned out.
You can make them with any images, but I found that the comic books were working by far the best. Clean lines, bright colors and interesting shapes. If I were to do anything else I would probably start looking at brochures, magazines or other media with high quality images.

Coasters for Christmas

Around this time of year things tend to slow down a lot in the theatre world. The Christmas season shows are all up and running (they usually open early or mid November) and the January shows haven't really kicked into high gear yet. It is the perfect time of year to use my crafting skills to make gifts for my friends and family (and this year I'm thinking of selling some too, more on that later).

One of my projects this year is resin coasters.
I have been saving bottle caps all year for this project, it helps that my friends drink a lot of interesting beer.
I bought these resin molds online for pretty cheap (don't cut corners here, the chemical reaction as the resin hardens will cause it to stick to or melt your mold if you aren't using one designed for it).
The next step is to spray on a mold release and let it dry (if you don't let it dry all the way the mould release will float to the top of your resin when you pour it in, where it will be useless)
Next I pour out the right amount of resin
and mix in the hardener. I do this in disposable cups with disposable spoons to make my life easier.
I pour a small amount of resin into the molds, arrange my bottle caps on top, check underneath to see that they are straight and then fill the molds the rest of the way.
The resin takes a few hours to harden all the way through, and then I pull them out.
And as an added bonus I am becoming much more comfortable and skilled with using resin (which is really great for fake drinks, but I have messed up multiple times in the past when I didn't measure parts correctly).

Monday, November 15, 2010

smushed plum

In the upcoming production of Cherry Smoke at The Side Project theatre in Roger's Park, one of the characters is supposed to be rubbing a piece of fruit on her skin. I needed a piece of smushed fruit that was believable in a small space, and was comfortable for the actress to press against her skin without getting her messy (the show moves very quickly scene to scene and she wouldn't have much time to clean herself and get back on stage.
The director decided she wanted the fruit to be a plum so I started out with a rubber racquetball.
I cut a whole in it and painted it dark purple.
For the inside of the plum I used wax. I figured it would feel smooth and slip easily across the actor's skin without leaving a residue. 
I bought two candles that were approximately the color of the inside of a plum. 

I melted the yellow one into the ball first and then used the red on top in a hope to duplicate the correct coloring.
I don't know if the yellow ended up having an effect at all, but the end result is still pretty convincing.

Sunday, November 14, 2010

Hourglass

For the hourglass in Wizard of Oz we were looking for something interesting, a little creepy, but most importantly plastic.

Apparently the last time they did the show they had a beautiful glass hourglass that shattered all over some poor little girl in the front row during one of the performances. There were no injuries, but it was certainly not something we wanted a chance to repeat.

I found these two purple plastic bottles in the floral section at Michaels. They were simple little spray bottles, they came in multiple shapes and colors and were only $1 each.

I filled the bottles with colored sand. I started with red sand and it was far too dark, it was almost invisible inside the dark plastic bottles, I switched to white and it worked much better.

I created a cap inside the mouth of one of the bottles using epoxy putty and slowly adjusted it until I got the right speed and amount of sand flowing through it. Once the inside piece was adjusted I attached the two bottles together using more epoxy putty making sure to get a good seal (the last thing I want is sand leaking out all over the place).

For the stand, I started with two basic plywood circles and three pieces of dowel. I had been hoping to find some bats or gargoyle-ish figurines to use on the corners, but was coming up empty after visiting multiple Halloween and toy stores.

For plan B, I bought a few packages of sculpy bakable clay

and made a set of snaky twisty pieces. I collaged them onto the corners.

I painted the whole thing a tarnished antique gold.

The piece turned out looking pretty good, and more importantly, sturdy.


Cyclone!

I wish this cyclone was my idea, but it's a re-creation of the one that was built the last time the theatre did a production of this "Wizard of Oz." It's so cool though I had to share the idea.
It starts with a cone sewn out of a light-weight sheer fabric (I bought this grey georgette on sale at JoAnns). It has a pocket sewn into the top that I threaded a piece of flexible copper tubing into.
I built this cross-piece to match the circle at the top of my cone.
The copper tube screws onto the spokes and the dowel in the center fits inside the end of a large piece of PVC.

The cross piece slips easily in and out of the dowel for easy storage and assembly backstage.

In it's finished state the actor holds the 7' tall piece at the bottom and slowly guides it in small circles  The top and the bottom of the cone are much more secure but the center of the cone is free to move and swirl in a very cyclone-ish manner. 
The effect is very cool and I'm sure will be even more magical under stage lights.  
*Note- Sorry about the sideways video, I couldn't figure out a way to rotate it without reloading it. 

Monday, November 1, 2010

cuckoo clocks

It's funny how the same props seem to show up in multiple shows at the same time. I just did two shows that had large amounts of sand onstage. I hadn't used old wooden crates in months and now I have three shows at once that need them. And now I needed two cuckoo clocks for two shows with the same director. 

The clocks are completely different of course. The first clock is for the Wizard of Oz. It is supposed to be balanced on the headboard of Dorothy's bed and then it falls and hits her to knock her out during the tornado. 
We of course couldn't use a real cuckoo clock, if we really knocked Dorothy out it would be a short show. The director asked if I could build a clock out of foam. 
I bought some foamies from the craft store and set to building. I used this as my research image.

I used 1/4" thick foam for the base frame of the house.

I used 1/8" foam for everything else (it comes in many more color options)
Everything was attached with hot glue.
And then I coated the entire piece with some watered down elmers glue, tinted with a little bit of brown paint.
And glue in a Styrofoam birdie to top it all off.

The second clock I needed was for It's a Wonderful Life- The Radio Play. I rented a clock from an antique store and the man there carefully wrapped the clock in layers of newspaper and bubble wrap. Unfortunaely neither he or I knew how a cuckoo clock should be packed and when I went to take the clock out I discovered that the chains had come off of the cogs on the inside of the clock and the stress of sitting on it's back had ripped the fragile paper of the bellows (the little paper accordion-type things that push the air through the whistles and makes the cuckoo sound)
I had the luckiest night ever though. I looked up clock repair on google maps. I found the phone number of a repairman about 5 miles away. I called and he told me to come right over. I got to his house at 6pm, he reattached the chains, replaced the bellows, and oiled and tightened everything. I picked the clock back up at 10 pm and he charged me the cost of parts and a pair of tickets to the show. 
The clock looks beautiful, and it sounds fantastic!


Monday, October 25, 2010

Another Magic Wand

This magic wand is for Glinda in the Wizard of Oz.
The director wanted it to be larger, almost like a baton, but still magical, and sparkly.

I used this wand as my inspiration.

For the base of the wand I bought a short, thin copper tube from Home Depot.
I added a plastic prism I bought at the craft store to the end and secured it with epoxy putty.


After securing the stone I wired up the circuit. I used a 3V watch battery, a small toggle switch and a large LED bulb. I made sure I had long leads on the wires to and from the bulb so that the switch and battery could be on the bottom of the wand and the bulb could go as far up the tube as possible. When I flip the switch, the LED lights up the entire prism and the the glow looks almost magical, because you can't see the light source. 
To get the natural vine look on the outside I used layers of hot glue.
And I used a large amount of hot glue at the end to secure my switch and to help hide the switch and battery.
After that I painted the entire thing gold and added some more rhinestones (because who doesn't want more sparkle)


Here's the full finished wand, I know I would have wanted one when I was ten.

Wednesday, October 20, 2010

period baby bottle

Also for Three Sisters, I was asked to provide a baby bottle for Natasha to give to the baby.

As luck would have it, my favorite antique store had a vintage baby bottle. The first challenge was to find a nipple for it.

I ended up cutting a regular baby-bottle nipple to fit the top. I filled it with hot glue so nothing could leak out the tip, and I sealed it in place with more hot glue.

The second challenge was caused by the first. I needed a milky liquid that wouldn't go bad, because with the hot glue seal I wasn't going to be able to refill the bottle.

I ended up using coffee mate, powdered non-dairy creamer. The look of it is just about perfect, but after a few days it did start to separate. It still looks fine if the actress shakes it a bit before going on stage, but next time I think I will try liquid non-dairy creamer.

Also, since I'm sort of on the topic. A while back, a friend of mine was given the challenge of having large amounts of drinkable milk on stage. The actors were supposed to be ladling milk out of a large dairy jug, and then drinking it. He would have put a false bottom into the jug, so he didn't have to fill the whole thing, but still we're talking about a gallon of milk each night, a nasty cleanup, and singers who really don't want to be drinking milk (it isn't great on vocal chords). He didn't end up having to worry about it, because it got cut, but I was stumped by the question. Does anyone have any ideas? Anything you have used as a milk substitute on stage in the past?