Monday, March 14, 2011

Juke Box Rehab

I rented this juke box for a production of Always Patsy Cline. It's a great piece, mostly hollowed out, with a doors to make it look like an old 1950's fridge on the back (so we can shift easily from bar to kitchen). It has, however, seen better days and it needed a lot of love before I could put it on stage. 
The biggest problem was the four plastic panels on the front. The top two were plexiglass, painted with gold stripes and so full of cracks that they were pretty much laminated together with packing tape.
The bottom panels were made of corrugated plastic (which I am fairly sure was not the original material, but a fix someone had used in a previous show). It had scratches and paint marks all over it.

To replace them I needed something translucent, but I didn't want to go transparent (you can see in the previous images that the red party bulbs were visible behind the cracked plexiglass).
My first thought was to go with muslin, and to paint some sort of gold pattern onto it to break up the large expanses of white.
When I ran that idea past the set designer he suggested that maybe instead of painting we use radiator screen to get our pattern and provide us with a more rigid structure.
Radiator screen is a thin patterned metal available at most hardware stores. It is easy to cut with a pair of tin-snips and comes in a variety of patterns. It is not especially cheap ($30-$40 per sheet), but I was planning on making an investment in this prop so I could afford two sheets for this project.
I traced the pieces I was replacing onto the screen and cut them out.
Then I used spray adhesive to laminate some white taffeta I found in stock onto the back.
The hardest part was inserting them because they fit so tightly and the curves were awkward
On the plus side, the fit was so tight that once I got the pieces in, all I needed was a little hot glue to hold it there. Hot glue was also preferable because when I return the prop, if they decide to go back to the plexi panels, it should be able to pull right off of the metal without doing any permanent damage.
There are a few dents and creases in the screen that I couldn't get rid of, and I'm not sure how I could have avoided them considering all the twisting and pulling that was required to get the pieces in place.
But once the lights are on you hardly notice, and I think it turned out pretty well.

Friday, March 4, 2011

Proppeople.com

Hey everyone, just a quick note to let people know they should check out the prop people discussion forum.
The site (a part of the delphi forums site) had fallen pretty dead in the last year or two, but it looks as if Eric Hart (who write his own props blog at props.eric-hart.com) has taken over the project and is trying to get it up and running again. Here's hoping it's a success and we will again have a productive forum for asking questions, finding rentals, and sharing tricks.

And thanks Eric for taking on the challenge.

Wednesday, February 23, 2011

Book filling stamp

If you have never used one, I have to recommend that you purchase one or more of these stamps. 
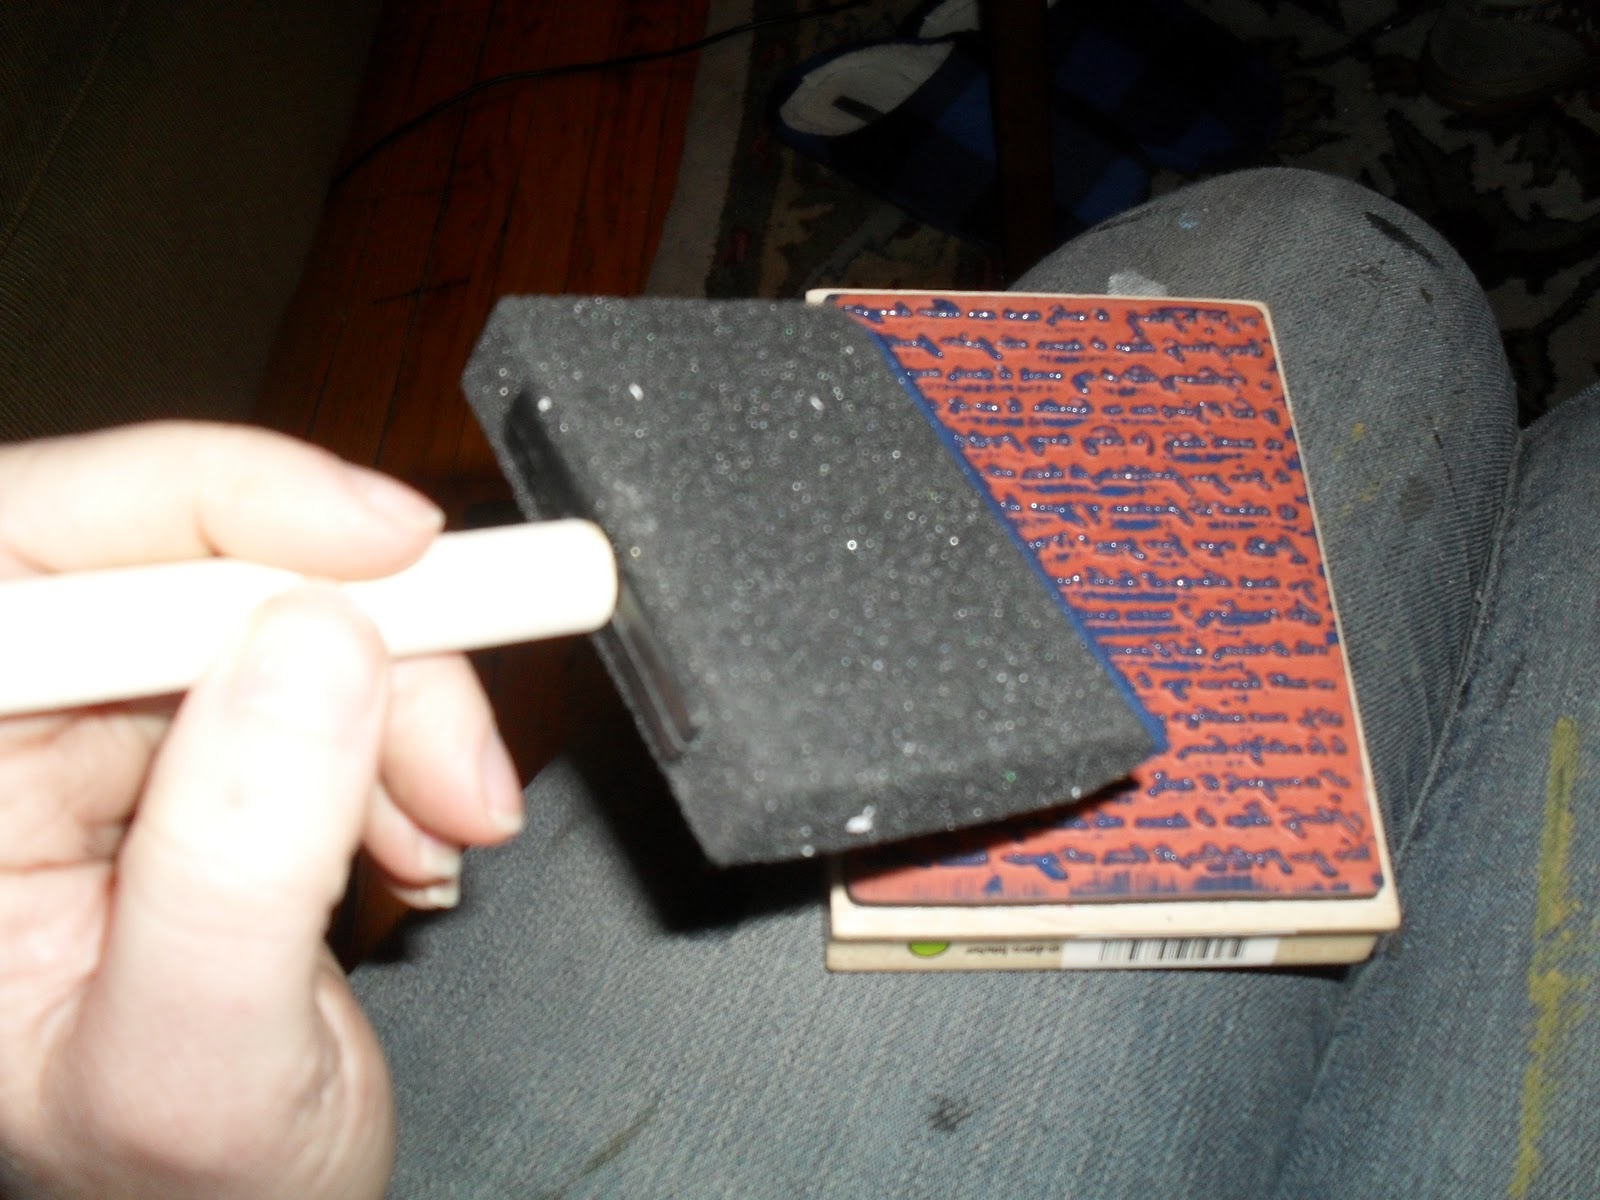
brush on some paint (or ink from a stamp pad)
and press down into the book.
We wanted to leave the book blank in places so that the actors could write in it during rehearsals and fill pages with drawings, but it's a big book to fill.
A couple of stamps every few pages went a long way toward helping the book look full.
The process was also helped by my heat gun. I was able to stamp, dry and turn the page quickly and easily.

This project was for a show my fiance is working on, but I'm glad that I got a chance to use the stamp. I have a project coming up in the summer that is going to need a messy journal, I am thinking I might buy a second one (the craft stores sell multiple varieties) to get some length and width variety to the passages.

Monday, February 14, 2011

How theatre changes the world

I believe that arts can change the world. That is why I do what I do (besides having a ton of fun doing it). I believe that the arts are important. After a conversation with a friend tonight though I have decided that there is a need for me to further articulate that idea. It is no good for me (and my fellow artists) to just talk about whether arts make a difference; we have to specify how  they make a difference.

The scientific basis for my thoughts comes from a psychological research tool called an implicit association test (or IAT). These tests ask people to group sets of words as quickly as possible. For example I just took an IAT that asked me to click the "e" if I was presented with a "male" word (father, son, uncle, boy, etc.) and the "i" key if I was presented with a "female" word (mother, daughter, aunt, girl, etc. ). I was then presented with a series of words that were either liberal arts or sciences. Finally I was asked to do the two sets of words in conjunction; press "i" for male or science and "e" for female or liberal arts. Later the combinations were switched with female and science grouped together and male grouped with liberal arts. The idea is that by measuring how quickly I complete each task and how many mistakes I make, assumptions can be drawn about how closely I associate women with the arts and men with the sciences. In other words, to reveal my subconscious prejudices. This gender study is only one of many IATs looking into opinions about race, ethnicity, age, culture, sexuality and lots of other cultural markers. If you would like to learn more about these tests, or take a few, you should check out Project Implicit.

In one of my classes in college (I can't seem to recall which specifically) we were discussing implicit association tests and the professor told us a story of a man who took a test on race and was upset at his results. The results told him that he had a strong association of Caucasian with good and African American with bad. He took IAT over and over again trying to improve his results and had no luck. Then one day the results changed, and his score improved. In reflecting on what could have changed that day to alter his score he noted that he had spent most of the day watching the Olympics. All day long he had been seeing positive images of African American athletes overcoming challenges, working hard and succeeding. After that influence it was much more natural for his brain to associate African American with good when he was asked to do so.

I believe that arts can change the world because art can change people, but I don't think this change happens radically or quickly or even noticeably (at least in most cases).  I think the arts change people by exposing them to new ideas, foreign places, and unknown cultures. I believe and hope that the people who come see the productions that I am a part of, leave with just a little more understanding of the people and cultures and ideas that piece of theatre explored. I doubt that the change would be dramatic enough that the people in the audience would notice it, but if their metaphoric IAT score changed by just a point or two, that's progress.

My vision of a better world is based on the golden rule of treating others as you would like to be treated. I believe that treating others with respect comes from tolerance of difference, and tolerance comes from knowledge, and knowledge comes from exposure. The theatre is a place where we can be exposed to foreign ideas in a safe environment. Hopefully, eventually, that exposure leads to more tolerance worldwide and the ability to work together with respect and kindness to create a better world.

Tuesday, February 8, 2011

Lessons about Polaroids

Recently I worked on a show that calls for a Polaroid photo to be taken in the final scene. There really were no shortcuts available either to get around spending the money on the consumable prop of film for each performance. The photo is taken in full view of the audience and then one character is immediately asked to sign the bottom of the photo after the camera spits it out.

I acquired a working 600 land camera (popular in the 70s and 80s) and then started trying to find film. Turns out...way harder than you would imagine.

First, Polaroid stopped making film for its instant cameras in 2008. Fujifilm has since taken over production of some instant film, but as far as the camera professionals I talked to could tell me, they don't work in older Polaroid cameras and are mostly just for Fujifilm cameras.

To get the film you have two options. The first is ebay, where bidding is competitive for old expired polaroid film. I thought that this would be a good option for me. I figured the chemicals for developing the photos in the expired film might have degraded over time, but since I didn't need a quality image, I should be fine. The problem is that the battery in old Polaroid cameras is part of the film pack and the battery had degraded over time as well. After spitting out half of the photos in the pack, the battery went dead and the remainder of the pack had to be thrown away.

A second option is the-impossible-project, a company made up of former Polaroid employees working in an old Polaroid factory in the Netherlands. For the past few years they have been working to combine their knowledge to reinvent instant film. Their products are still growing and developing (for example they don't have the peel off guard old Polaroid film had. You have to shade the picture immediately as it is being spit out of the camera to avoid over exposure). Typically a downside of this film is the time it takes to ship, but I was lucky (I thought) to find a local camera store that buys it and keeps it in stock. In the end, the impossible film I purchased from the local store had the same problem as the ebay film. It had been sitting too long and the battery went dead after only taking six out of the eight photos in the pack. I would be interested in how film direct from the Netherlands would have held up.

So for future reference, plan on spending around $4 per photo if you need Polaroids, and allow plenty of time for ebay bidding and overseas shipping. If I had to do it again I think I would take my chances with the impossible project as I imagine their products are only going to get better with time.

Friday, February 4, 2011

Soap Cake

In The New Electric Ballroom, the script calls for a beautiful coffee cake to get smashed every night of the show. I was looking for a way to do that cheaply without having to bake three cakes per weekend (at $3 per cake with mix and eggs that can add up quickly). I had read once about people making snowballs from shaved soap and thought I might be able to use the same technique.

I bought cheap yellow bars of soap, then used my cheese grater to shred the bars into a bowl.
I carefully poured the shavings into my pan and packed them in, but they weren't packing very tightly. They still seemed very grainy and loose in the pan
. 
I turned it over and sure enough I was right. the shredded soap didn't hold together at all and I just had a pile of flakes. 
I decided to add some water to make the soap stickier, so I packed the flakes in again and poured some water into the pan. TOO MUCH. 
I ended up with a gooey sticky mess that I had to throw away. Turns out the water thing requires a much lighter touch. 

My next solution was to spray the pan with water and then periodically spray the soap as I was filling the pan before packing another layer. I thought that the water on the outside would help the soap be especially sticky on the shell of the cake where I needed it to be. As is turns out, the water on the outside just made the soap especially stick to the pan.
The final solution was Pam to make sure that the soap didn't stick to the pan. 
and then slowly adding water to the mix (with a spray bottle this time) until the soap was ready to stick to itself. 
As a side note, you can see here why people use this method for snow balls, they ball up perfectly and I'm sure they would explode on impact.
I packed the soap into the pan again
and then turned it over and hit it with one good whack on the pan to release it
This one cracked a little getting it out, but you get the idea. 

This cake ended up getting cut because it was hard to clean up after being smashed in the middle of the floor, and because someone in the company offered to make a cake every night for the run. It's a really cool trick though and I think that it might have lots of applications in future shows. 

Friday, January 28, 2011

Foam Heads

So after the post about the successful foam fish, I bring you the story of the failed foam severed head.

Again I was working on a show with a tiny budget and a giant props list. I needed a severed head, and a plea to fellow props masters for a rental in the area turned up empty. One of the props masters mentioned though that he had made a severed head once with a cheap wig and a painted wig head.

I took a male wig head and added paper mache to make the neck look severed.

I painted him with a flesh tone (with a little green to make him look dead). I speckled him with blood and added a cheap wig from the bargain bin at a local costunme store.

Later I decided to cut the neck on a rougher line becuase it looked too long and clean.
I printed out the eyes and modge podged them in. The ink ended up running and the eyes looked a lot less realistic than I wanted. If I were to do it again I would spray them with some sort of spray fixative to set the colors before trying to glue them in.

The problem that I couldn't solve was the position of the mouth. The foam face was constructed with the jaw firmly set. A dead person does not have the muscle to hold their mouth the way that the wig head did.

When I asked the props master who gave me the idea he told me that the problem hadn't come up for him becuase his show had been heavily masked. The mask on his head hid the jawline.

I couldn't figure a way to change the existing jaw line without totally destroying the face.

In a last ditch attempt to distract from the mouth I added a fake moustache I bought at a costume store. It failed miserably and the head ended up getting cut.

If I had to do it again I think I might have to carve the whole head myself, or find someone with the expertise and supplies to do a good casting of a face.
Or just suck it up, cut money from somewhere else and invest in buying one (you can find them online through halloween stores year round).

Tuesday, January 25, 2011

Foam Fish

So first, some personal news, because I'm so excited I have to tell everyone that reads, I got engaged last Friday night. So keep an eye out, because in addition to props work and theatre crafts, you may be seeing some DIY wedding crafts on here in the future.
On to the fish!

For a production of New Electric Ballroom at A Red Orchid Theatre, I needed lots of large fish. On the small budget I knew I couldn't afford to cast them (I didn't have any leftover supplies from other projects and the right supplies can be expensive), so I started looking online for possible places to buy them. This also came up empty, as the fish I was finding were all too small and too expensive. To fill the two tubs I needed to fill I estimated I would need about 20 fish at that size.

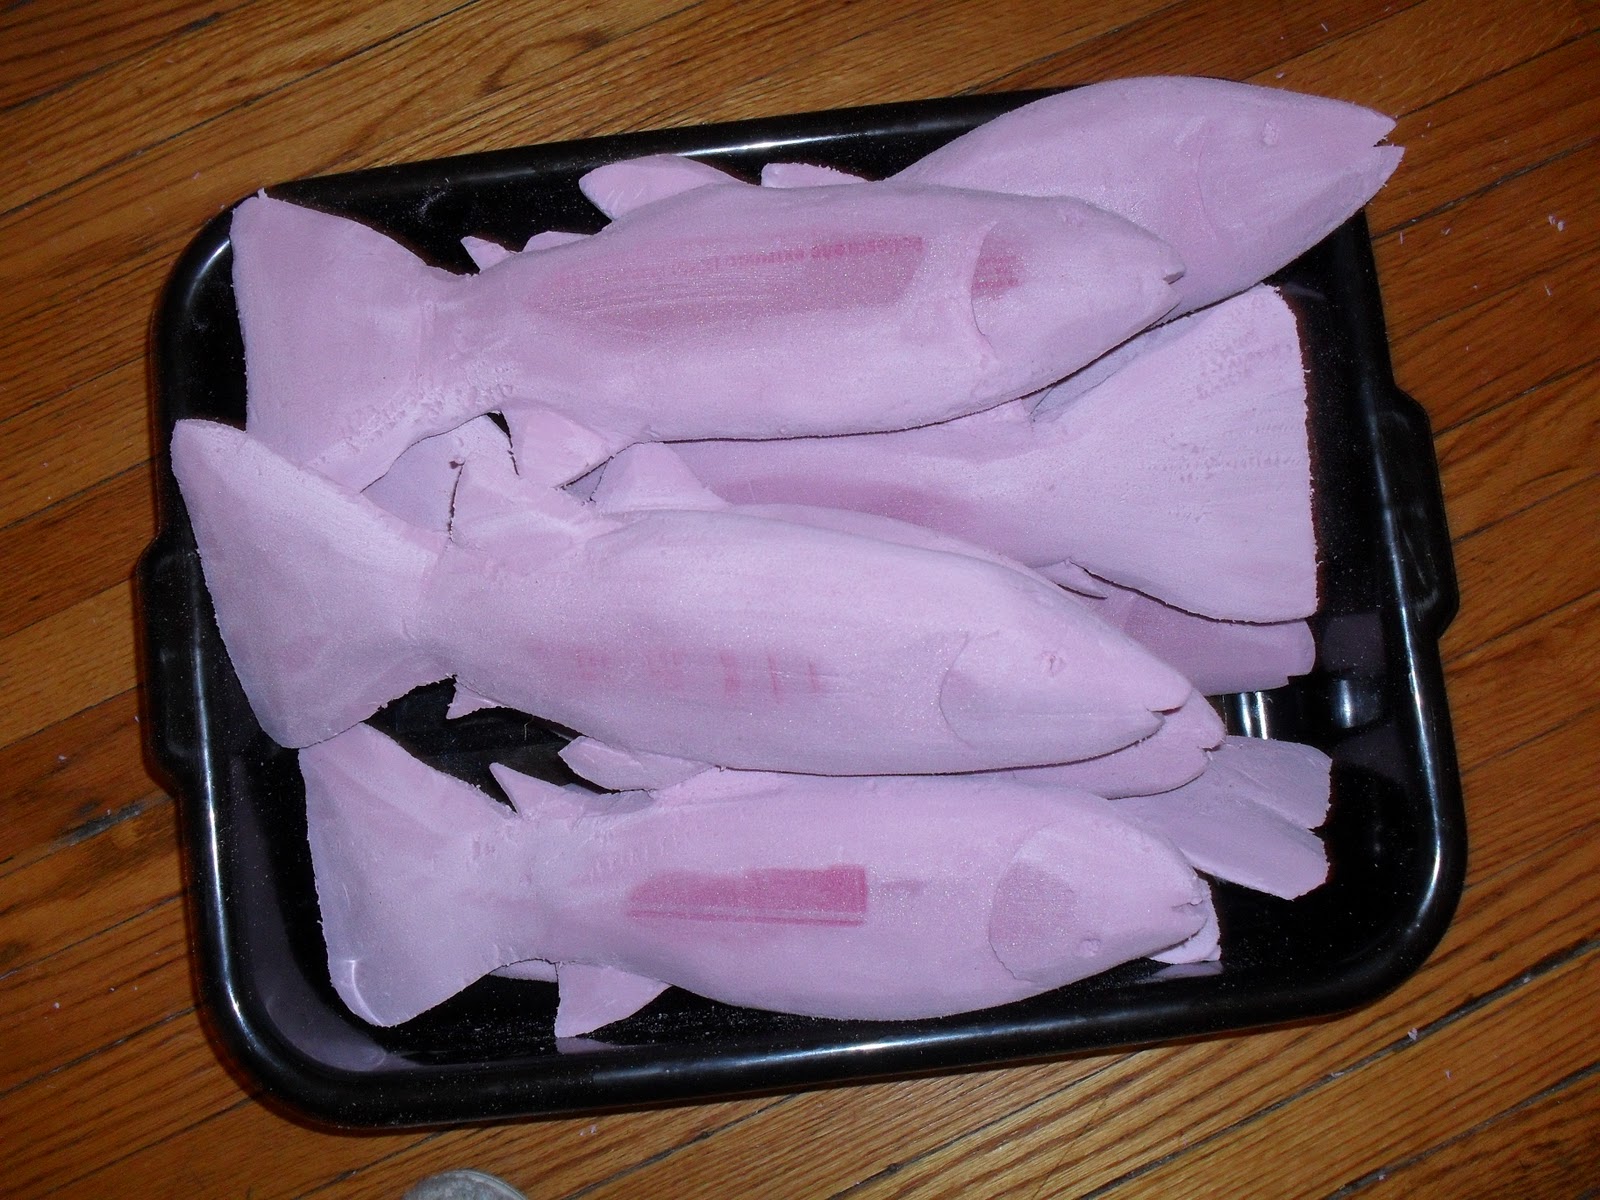
I finally came around to the idea of carving them. I started with 2" pink foam and traced a fish shape onto the front.
On a side note, one of my favorite tricks when cutting intricate shapes with a jig saw is to do it on a foam base as opposed to trying to prop your piece between makeshift sawhorses. The foam doesn't resist the blade or slow it down, but still supports your project as you cut. In this case I was using a foam base under the foam I was cutting, but I have used this same method for cutting lauan and plywood too.
After I had the basic foam shapes, I carved them down with a long razor (also known as an olfa knife or a snap blade knife)
 And then I sanded them to a smooth finish.
I painted each fish with three coats of liquid latex,
 And then painted them all with a silver base coat.
 
Then they all got a dusting of green, concentrating on the fins.
I inserted little black beads for eyes, and painted a little red behind the gills and in the mouth and they were done. 
Because I was able to make them as big as I wanted, I only needed ten fish, and the total cost of paint, latex, and foam was only around $50, less than half what I would have paid to buy the fish online.