For the "re-mount" or The Black Nativitty at Congo Square Theatre (I put re-mount in quotes, because you should never believe anyone when they tell you that a show will be a re-mount and therefor less work because "we already have almost all of the props."), we had three roman soldiers who needed swords and shields.They needed to be light, so they could maneuver while dancing, and large enough to be intimidating. I was told historically they were intended to cover from the neck mid-calf, but we compromised on shoulder to knee. To create the tricky curved shape of a roman shield I decided to start with round concrete-form tubes.
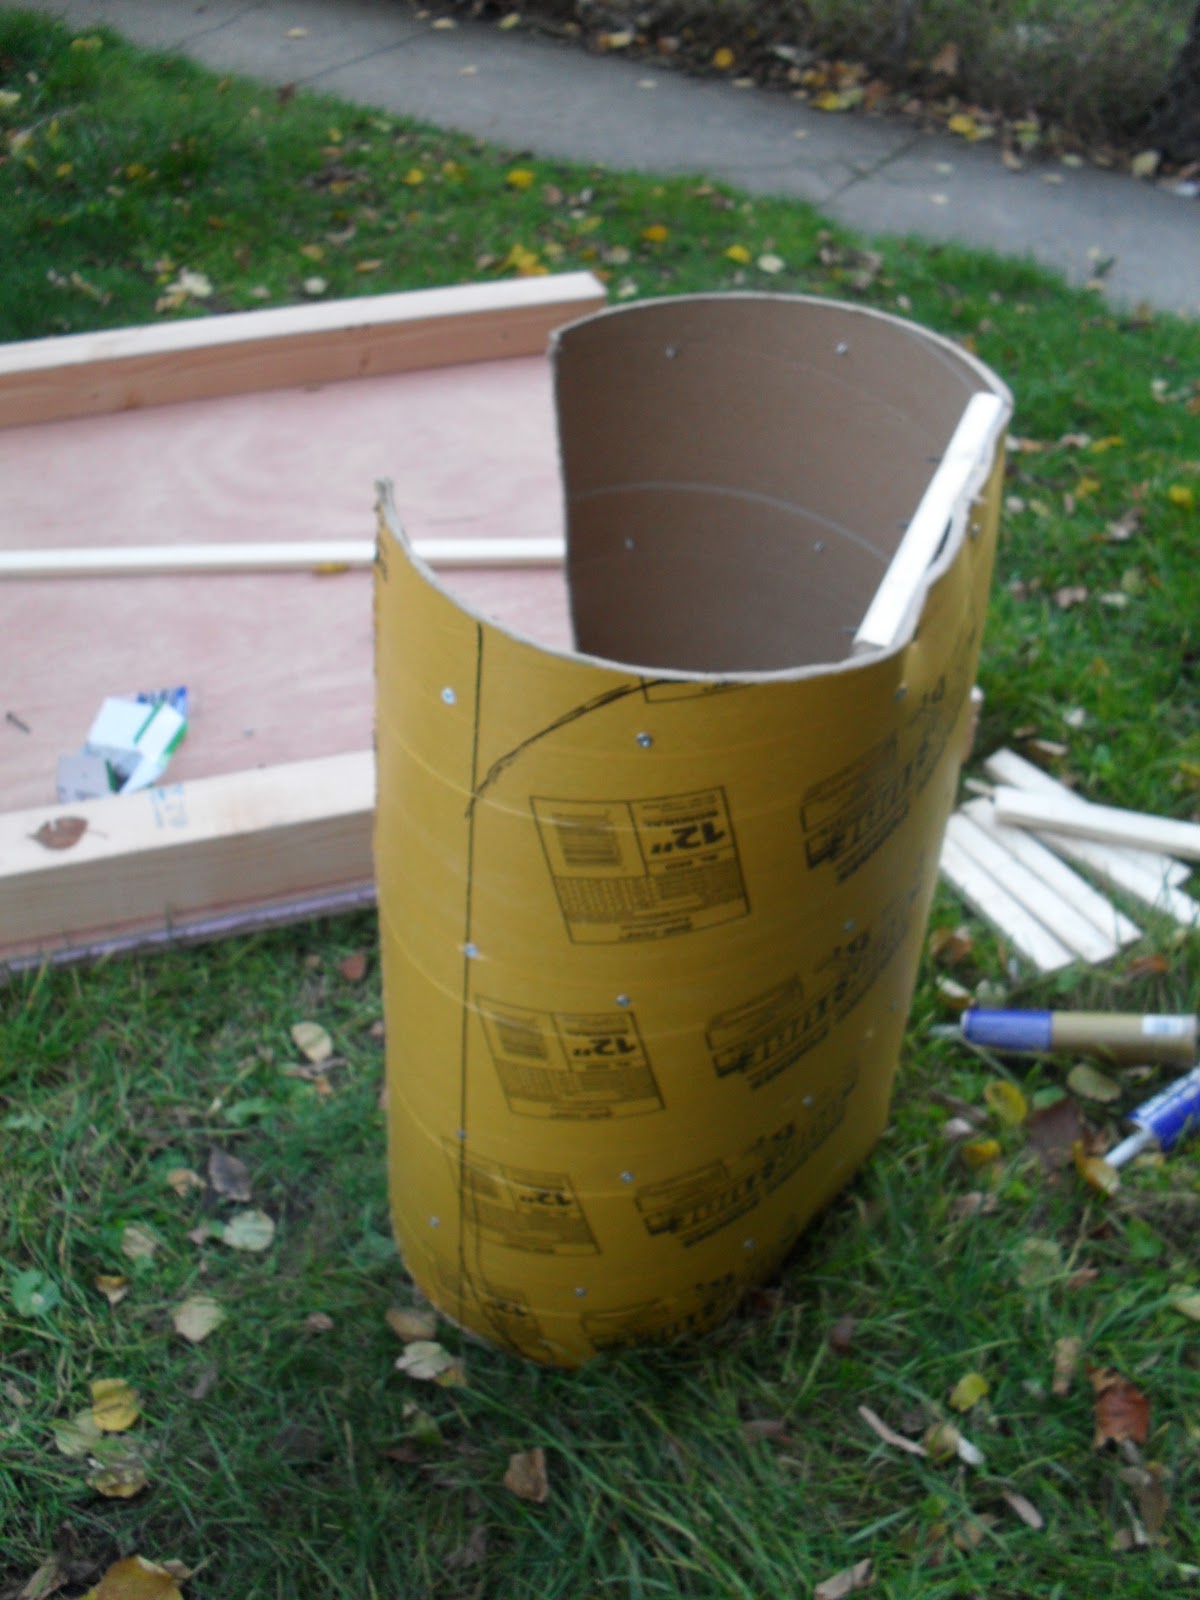
I started by slicing two tubes vertically and placing one inside the other.
To pull the tubes open to a wider curve, I placed them on Rowdy (that's the name of our beer can party cooler). I spread some liquid nails between the layers,

and then screwed in a number of small screws around the edges. The thought was that the glue and the screws would prevent the two layers from sliding back past each other, and would force the cardboard tubes to hold their shape in the wider curve.
Unfortunately that didn't work as well as planned, I believe because the cardboard is too soft and allowed for more flex and movement around the screws.
For my second attempt to spread out the curve I added chunks of 1x2 at the top and bottom.
While the 1x2 pieces did help to spread out the cardboard, they also left the cardboard looking a bit twisted and warped.
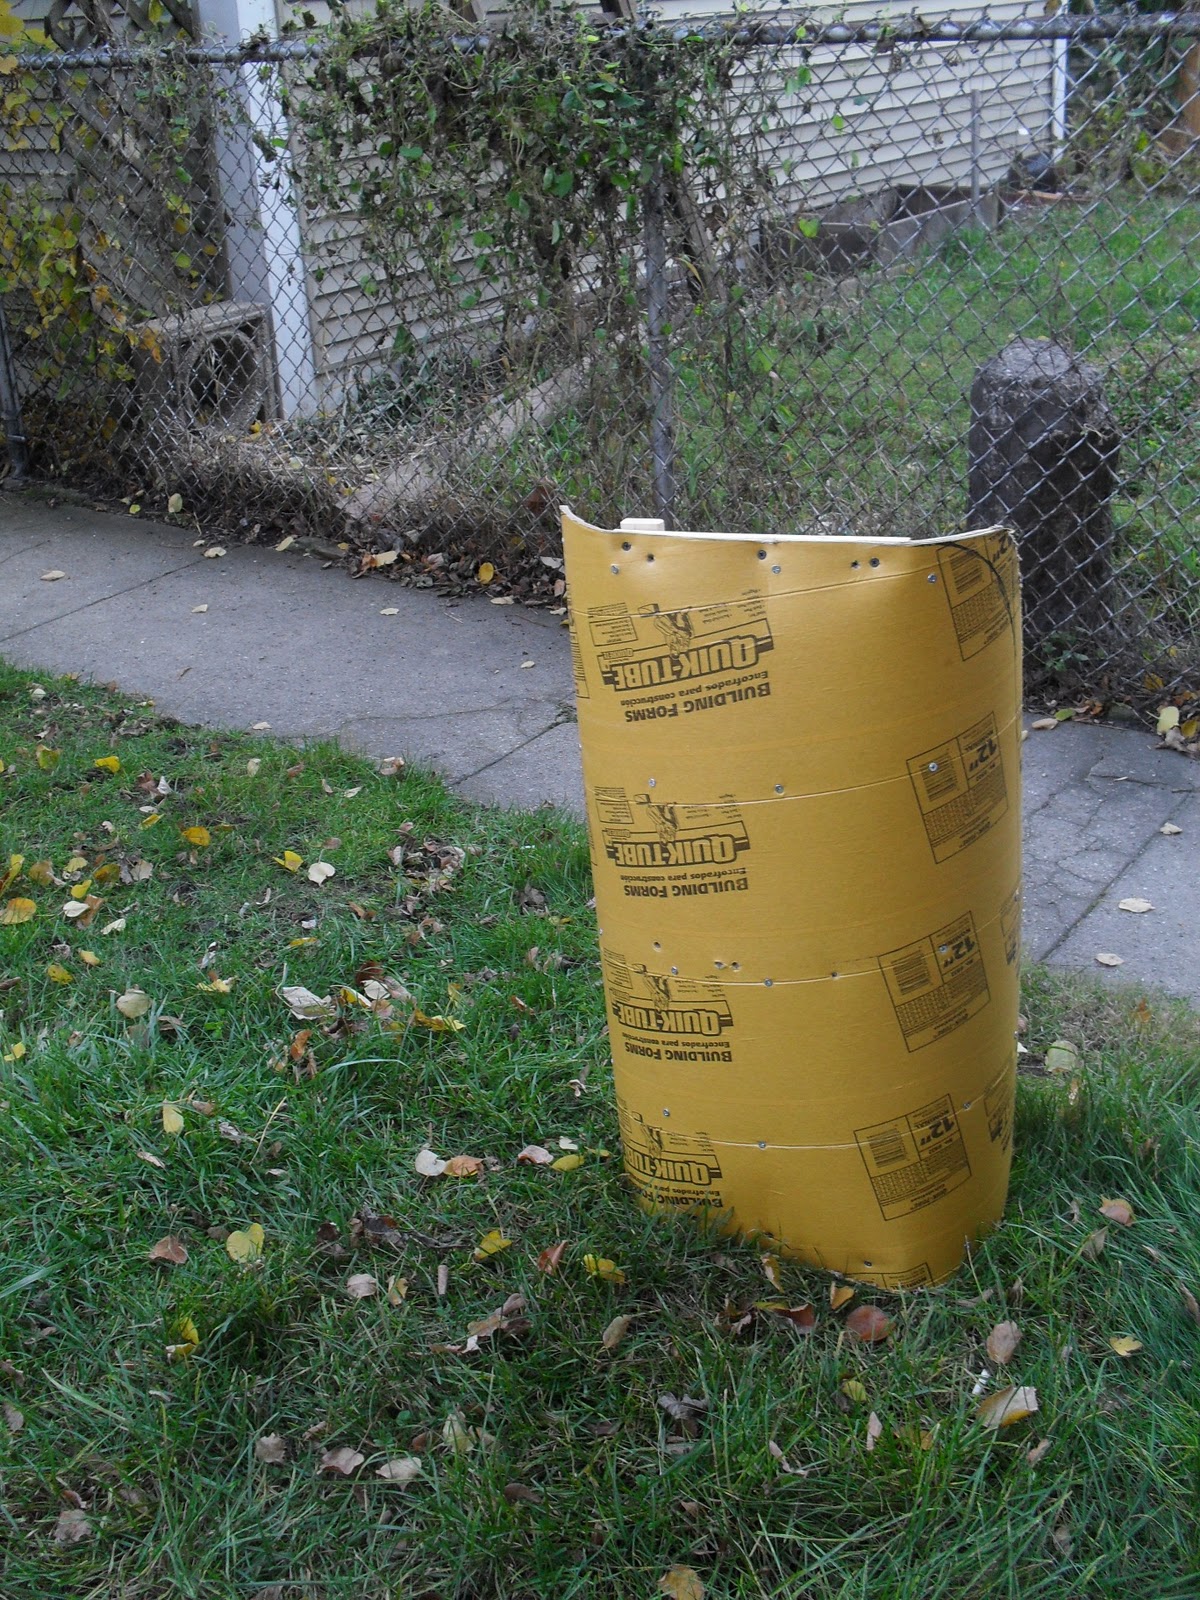
To finally straighten out the shields I ended up adding verticals to create a full frame on the back side of each shield.
I trimmed the edges and rounded the corners to finish the final shape of the shields. The flat 1x2 frame left the shields looking a little squished and messy at the tops; a uniform coat of paint helped hide this, and from the audience no one ever noticed but me. If I were to make these again, however, I would probably cut the curve I wanted from a piece of plywood and use that in place of the 1x2 to get a cleaner line.
To give the finished pieces the look of being made of metal I used a roll of aluminum tape to cover the edge of each shield. Once they were painted I used a light piece of sandpaper to sand the color back off the edges. It made the shields look used and a bit roughed up, and the metal peeking through the scratched paint in those places tricked the eye into believing that there must be metal under the paint on the entire shield.
for the actors to hold the shields I attached two strips of industrial 2 sided velcro (sold in hardware stores for bundling cables and tying down supplies in trucks).
The two-sided velcro allowed each actor to custom fit the straps to fit snuggly on his arm each night, and to get in and out of the shield quickly.
I used a coat of red spraypaint to color the shields. Here is another thing I would do differently next time. The concrete tubes have a waxy coating on them which the paint didn't stick very well to. It scratched off easily and I had to do several touch-ups as we were going through tech. Next time I would sand the surface of the shield before painting or dust it with spray adhesive first to give the paint something to adhere to.
To paint the shields I blew up a picture of the roman shield pattern and printed 1/4 of it (the design is symmetrical and printing only 1/4 allowed the design to fit on a legal size paper so I didn't have to pay for a large format printout). I then glued the printout to a piece of posterboard and cut out my stencil.
Then slowly over the course of the night, allowing each section to dry before spraying the next to avoid smearing paint, I painted each section of the three shields.
Unfortuantely I never got around to taking a final picture of the completed pieces, but this gives a pretty good idea of how they turned out.





 Posts
Posts


