Showing posts with label Lillith. Show all posts

Friday, September 30, 2011

Think before you speak...

Last year when I was working on Menorca at 16th Street Theatre, we needed to have a table full of ancient skeletal remains for the archaeologist to be examining. I bought two Bags of Bones from the local party store (hooray doing this show right around Halloween!), and touched them with a light paint wash to make them look older. After the show the director took the bones home to add to her Halloween decorations.

In January I was working on another show that needed bones, so I called up the director and asked if I could have them; she was happy to help. After the second show, the bones ended up in one of the crates in my basement where I store prop pieces that I think I am going to keep using.

Several months after that I was working on a show doing puppets (not props) and this conversation occured after one of our tech runs.

Set Designer- I'm a little confused by the line the actor has after the first dance number about it being a perfect transition to talking about the skeletal system. 

Director- We were originally thinking of those dancers as being skeletons, but with the masks and the costumes, they ended up being just strangely creepy monsters.

Costume Designer- I think it would be a little late to change the costumes, and other than that line afterwards that doesn't fit, I really like the look of them. 

Director- I do too. I don't want to change the costumes, maybe we need to change or cut the line. 

Set Designer- What if, when the monsters popped out of the boxes and crates, they had bones that popped out with them. Then, after the dance is over, there will be bones scattered around the stage , and the actor can pick up one of the bones and use the transitional line. 

Director- That works for me.

Production Manger- I'll let the Props master (who had a conflict and wasn't at that meeting) know, and see if she can find us some bones. 

Me- I have some bones we could use.

-Silent stares-

Me- In a crate in my basement.

-More silent stares-

Me- That sounds weirder now that I say it out loud...

Production Manger- Yeah...

Me- They are props leftover from another show...I bet my neighbors (who also store things in the same basement room) think I'm pretty weird... hadn't really thought of that before...

Production Manger- Moving on...

Sometimes I get so wrapped up in my own world, I forget that the things I do are weird to outsiders. I now keep the bag of bones in a closed box instead of in an open crate to avoid creeping out the other people in my building.


Tuesday, April 26, 2011

Giant hands Part 2

To recap from Giant Hands part 1. I cut lengths of PVC, used the toggle nut from a toggle bolt as a spring hinge, and then screwed all of the fingers into my wooden base. From there I added a lauan cutout to the back of the hand to compete the shape between the fingers and wrist. 
I ended up having to go back and redo many of the joints to replace the screws. Especially at the joints closer to the hand, where they took much more stress, since the screws weren't locked into anything on the inside of the hinge they were loosening themselves. I replaced the bad ones with machine screws (or machine bolts, whichever you prefer to call them). I bought nylon lock nuts, and used them on the ends of the machine screws to make them hold tight. 
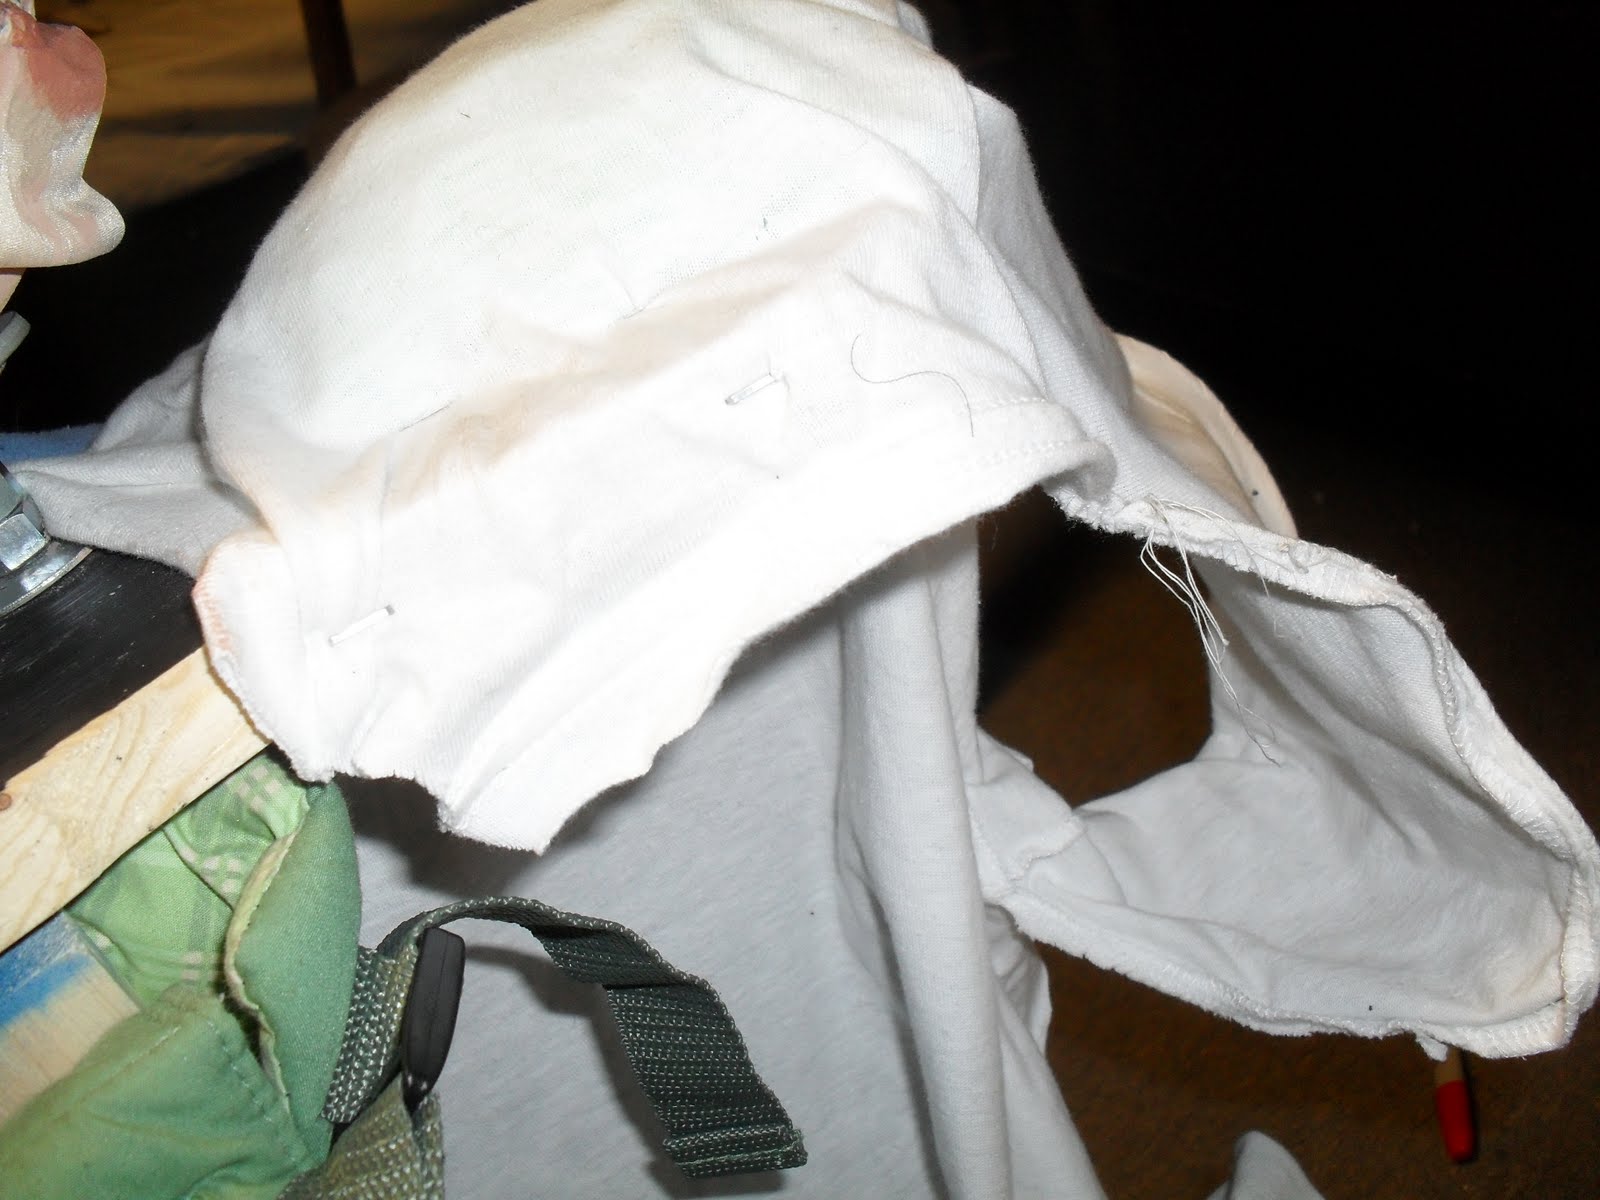
Next I started to skin the hands. I used a stretch lycra fabric I purchased at JoAnns (in with the dance and swimwear fabrics). I sewed long tubes and turned them inside out to cover the hands, then stretched the rest of the fabric around the palm and stapled it in place. I also used a little hot glue in places where I couldn't get a staple. 

I painted the handle black so it would disappear by the laws of theatre magic. I used heavy duty beading thread to stitch through the eye bolts in the tips of the fingers and then ran them through eye bolts in the center of the palm.
I've found this thread under the name "spider wire" before. This version was at Michaels under the name "Dandy Line." It looks and feels like button thread, but it is rated for up to 20 pounds.
I tied all five lines off to a clip. 
The clip hooked into a grommet on the actors belt. By pulling their hands away from their body, the actors were able to pull the hands into a fist.
Unfortunately the pictures of the giants in action aren't very good. They kept their heads down and often huddled in a circle, but you'll have to believe me that when they punched and pointed and scratched their heads they looked awesome.
Overall a success. If I had to do it again I would probably work in some foam or stuffing to shape the back of the hand, and I would look for a more rigid belt (the belts were wide elastic so sometimes they were the point of least resistance and would stretch instead of pulling the strings tight).

Tuesday, April 19, 2011

Blunty

Blunty is another one of the "Little Ones" in the play I have been working on. The beginning of his head was constructed almost identically to that of the Curious Child. I molded his face onto a cheap soccer ball using clay, paper mached over everything and then cut through the back to remove the clay. 
Blunty is different though, in that he is not a free standing puppet, but works as an appendage to an actor. In the script, Blunty is slowly transforming from a sweet innocent Little One, to a large brutish, food hoarding giant. We decided that this would be accomplished by putting a Little One head onto a human body. 
To make this work, Blunty's head needed to be operated from behind (where the puppeteer would be standing)  instead of from below. I also wanted Blunty's mouth to be stronger because he would be constantly chomping on food whenever we saw him.
I used a reacher/grabber, like these, I bought at a local pharmacy for the mechanism of the jaw.
I used carefully pre-drilled screws to attach into the narrow ends of the grabber.
And secured it to the back of the head.
Instead of just paper mache, I made Blunty's lips stronger by filling in behind them with epoxy putty.
Blunty's head is mounted to his shoulders with a long bolt and lots of washers to spread out the weight and reduce friction. This simple pivot point was enough to allow the grabber, already attached, to turn the head in addition to chomping.
I used a baby carrier, like this one, that I picked up at a thrift store as the rigging to attach everything to the front of the Blunty actor.
For Blunty's arms we used two actors behind our main actor, doing the "boyscout arms" trick (sticking their hands, from behind, under his armpits and through his shirtsleeves). To make this easier I sewed wire around the edges of the front and back openings of the sleeves to hold them open.
In these images you can see how Actor 1 provided Blunty's body, and held the tray of food. Actor 2 was Blunty's right hand, and operated the head.

Actor 3 was Blunty's left hand and hugged all three actors together so that they could move as a unit.
This is Blunty's tray of food. I included some realistic fruit, and lots of torn up sponges to resemble fruit that had already been chewed and smashed into a mess.
Some of the sponges were glued down around the outside, but most were bundled and attached to the tray with elastic.
Which was simply threaded through holes in the metal tray and knotted to attach it.
This way Actor 2 and Actor 3, serving as Blunty's hands, could blindly pick up pieces, shove them at the mouth, and then drop them without ever causing a mess.
Also Blunty likes doing Jazz hands :)


Saturday, April 16, 2011

The Butterfly

The first and most important part of this butterfly is the beautiful fabric. Everything else has come back to letting the fabric shine.
I laid out the fabric, folded in half, measured and traced out the wings. I then cut the fabric while still folded so I ended up with two mirror images. I turned under the tiniest hem I could and stitched each wing all the way around. Ideally I would have done this with a Serger and gotten a cleaner edge, but alas I do not have access to one, so I hemmed, which resulted in the edges haves that rippled effect (I decided it looked okay and am calling it a design choice).
For the body I took a piece of PVC and ripped it in half. 
I installed wooden blocks at each end with mounting hardware
And used the rollers from spring-roll window shades to hold the wings.
The end caps were cut so that when the two halves of the tube were placed back together, there was an opening for the wing to be pulled through.
I attached the wings to the rollers with Gaff tape. You can also see the labels in this image to make sure the wings are installed correctly. Once the fabric is folded and rolled, top and bottom and front and back can be difficult to figure out. If everything else is correct, but you take the wing out of the wrong side of the body, you'll end up seeing the back side.
On my first attempt with the wings I attached grommets to the wing tip and hooked the puppeteer's rods there. the curved shape of the wings caused big problems though. If you can imagine drawing a line from the tip of the wing diagonally to the point where it attaches to the roll, the curve above that line was completely unsupported and instead of flowing beautifully like the rest of the wing, it flopped and sagged.
We tried stiffening it with iron-on interfacing, we tried supporting the the wing vertically with wire and plastic ribs. Nothing worked. 
The eventual solution was to move the imaginary diagonal up.
I cut off the old corner and sewed a piece of sheer netting onto the top of the wing, creating a diagonal line from the grommet down to the roller above the wing itself. The entire wing hung beautifully from this line.
I textured the body with a coat of masking tape
gave him antennae
and legs, and painted him dark brown
Then installed my fabric rolls, leaving just the sheer fabric and the grommets sticking out. 

The original plan was that, once installed, the spring rollers would allow the wings to easily retract into and be pulled out of the body night after night. That idea ended up failing because, to make everything fit, the rollers had to be taken out of the body and rolled neatly. I initially kept the spring rollers in though, because I believed they provided resistance to make the unfurling of the butterfly smoother. In the end though, the problems the rollers caused weren't worth the benefit (the same slapstick comedy problems always caused be roll-up blinds and maps and projector screens; constantly rolling backwards when you want them to lock in place and refusing to roll up when you  need them to retract).
I ended up taking the tubes apart and taking out the spring roller element. The sheer amount of fabric inside that small tube provided plenty of friction force to make the unfurling a smooth controlled motion. 

In the play our magical character pulls the butterfly body out of a wheelbarrow, presenting it as a bug before our three puppeteers enter. One takes the handle on the base of the body and the other two insert the grommets into hooks at the end of long dowels. They unfurl the butterfly wings and flap away.


Thursday, April 14, 2011

The Curious Child part 2

(To see how I made the curious child's body, check out The Curious Child Part 1)
For the curious child's head I started with a cheap inflatable soccer ball and molded the face onto it with clay.
I based the face off of a cabbage patch doll.
I covered the molded face with layers of paper mache, concentrating especially on the front of the head.
I cut a hole in the back of the head for access and then cut through the ball to pull the clay out of the front. Everywhere I didn't need to, I left the soccer ball for added support.
I used this image I found online as the basis for the working mouth.
After hollowing the clay out of the face I carefully cut out the bottom lip of the mouth and the jaw (though there wasn't much of one). 
I cut a wood block to fit the back of my cutout and attached a half of a hinge to it. I ran a cut off piece of a hanger through the hinge, inserted a screw-eye in the top of the piece for the spring and into the bottom for the pull string. I inserted the hanger wire into a wooden block on each end to give me an attachment point into the head.
In this image you can see the hinge installed in the head, the spring attached to the top and the hole where the chin used to be.
I attached my cutout chin piece to the wooden block and re-paper mached over all the screw heads and exposed cut edges I created when I installed the jaw mechanism.
To cover the gaps in the jaw that I needed to allow the jaw to move, I glued in a square of stretchy lycra fabric. The stretch allows for the jaw to still move up and down easily, while not creating wrinkles or gathers when the mouth is at rest. Again I paper mached around the edges to help blend it into the rest of the head.
I added yarn hair, and then reattached my cutout from the back of the head,
then painted his face. One step I now realized I skipped was sanding. On this stage and from this distance he still looks fine, but paper mache can be sanded once it is dry and a light sanding would have given my puppet a smoother cleaner finish.
The string that pulls down to operate the jaw was run through the neck and down the dowel rod into the body, where a simple tug on the ring can easily make the puppet talk.


I installed the head back into the body and added clothes 
Now it's all up to the puppeteer.
And the little puppet looks great mixed in with the crowd of "little ones"